• Categories
    Category
    {{ postCtrl.tags }}
    • {{ category.tag_type }}

      • {{tag.tag_name}}
      • View more
  • Categories
    Category
    {{ postCtrl.tags }}
    • {{ category.tag_type }}

      • {{tag.tag_name}}
      • View more
  • News
  • Tutorials
  • Forums
  • Tags
  • Users
Tutorial News Comments FAQ Related Articles

How to take backup and restore hard-disk using REDO tool

{{postValue.id}}

To take backup and restore using REDO tool.

Redo Backup and Recovery is an opensouce backup and recovery tool. It supports GUI and stores the backup data in the external hard drives or in network shares. The procedure to take backup and restore hard-disk is explained in this article.

For this setup we have used two hard-disk and an USB device.
Download REDO from its official website and make it bootable in USB.

http://redobackup.org/download.php

Redo-Backup-and-Recovery-tool-take-backup-and-restore-Download-REDO

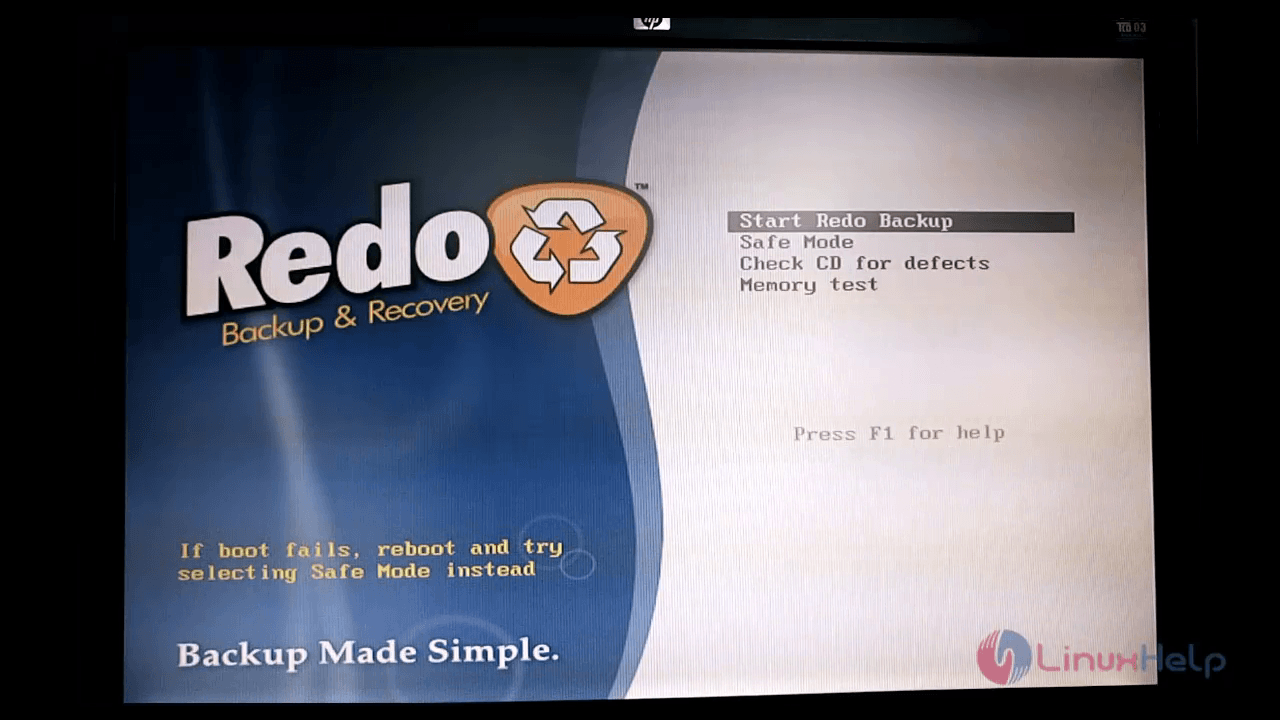
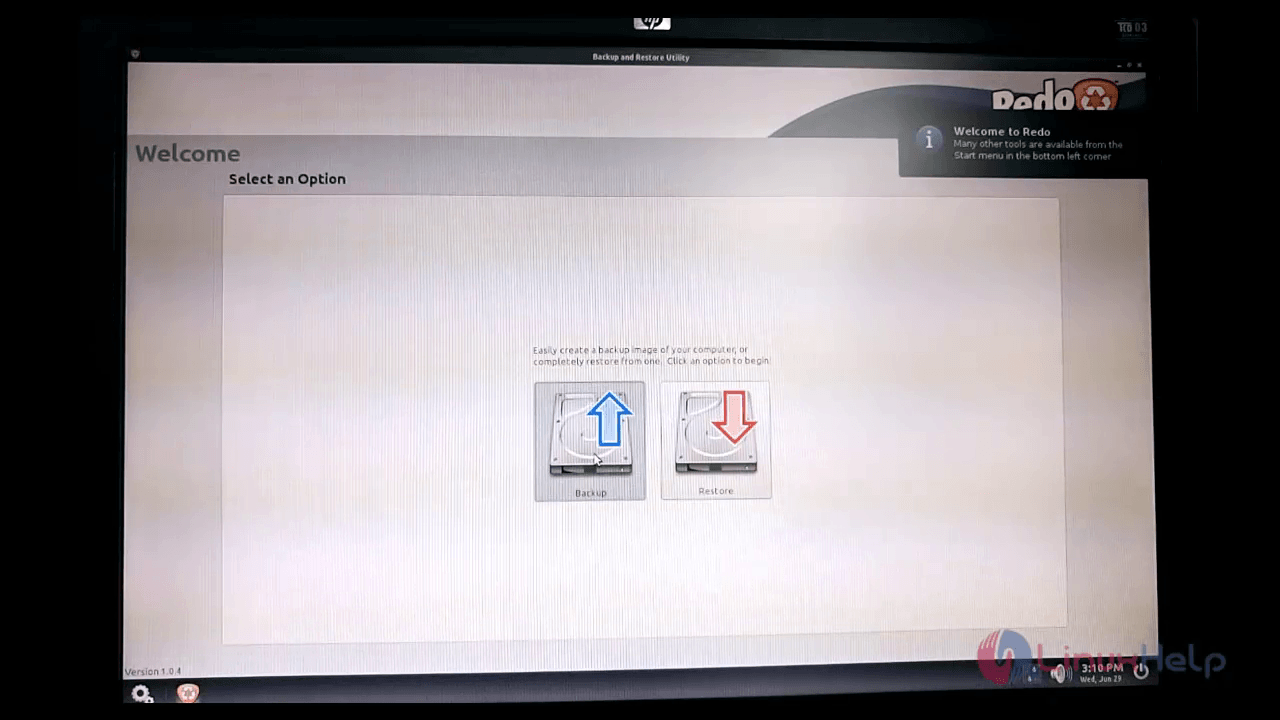
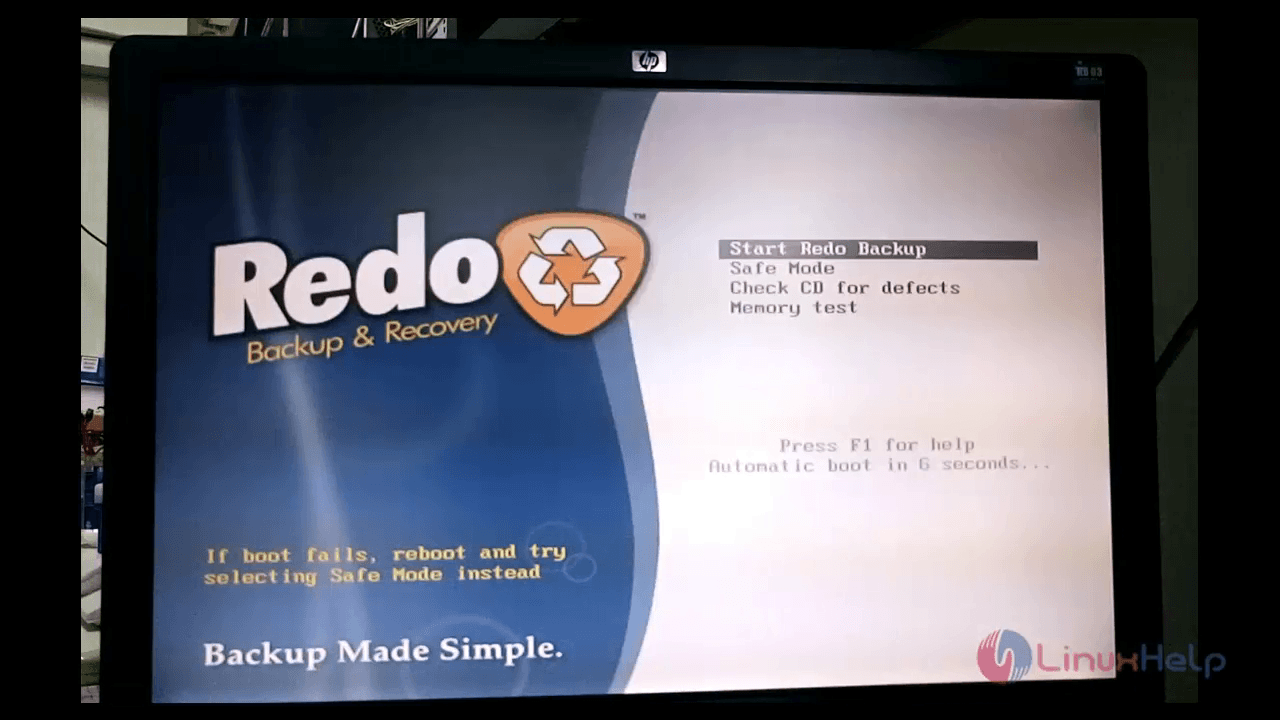
Press Enter to view the REDO main page.
Redo-Backup-and-Recovery-tool-take-backup-and-restore-REDO-main-page

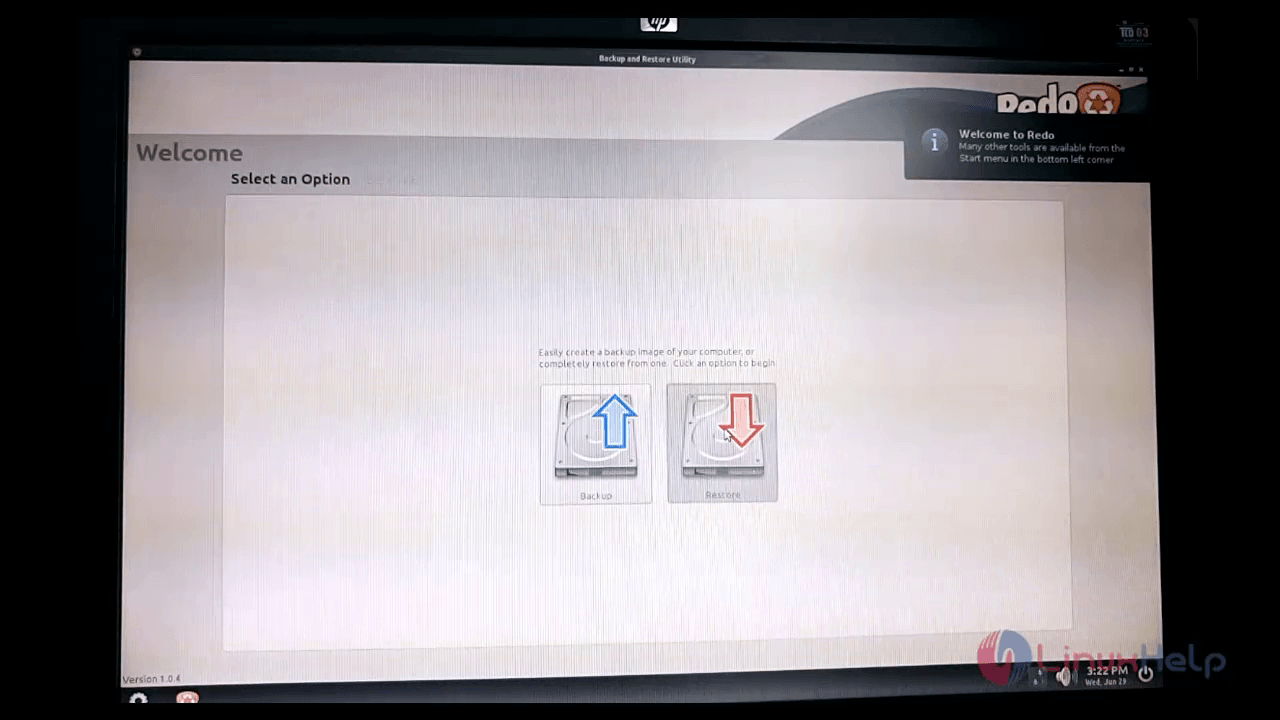
Click backup icon to take backup.
Redo-Backup-and-Recovery-tool-take-backup-and-restore-backup-icon

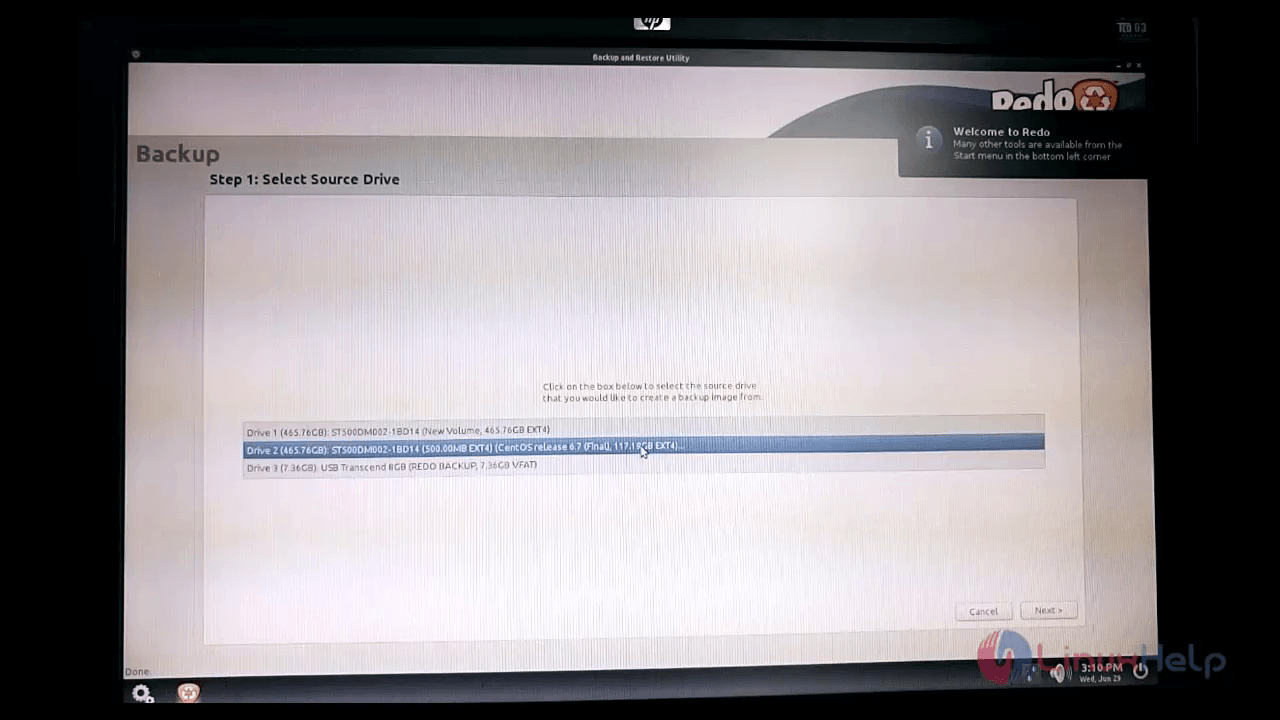
Select Source drive to take backup and click next.
Redo-Backup-and-Recovery-tool-take-backup-and-restore-Select-Source-drive

Redo-Backup-and-Recovery-tool-take-backup-and-restore-take-backup-click-next
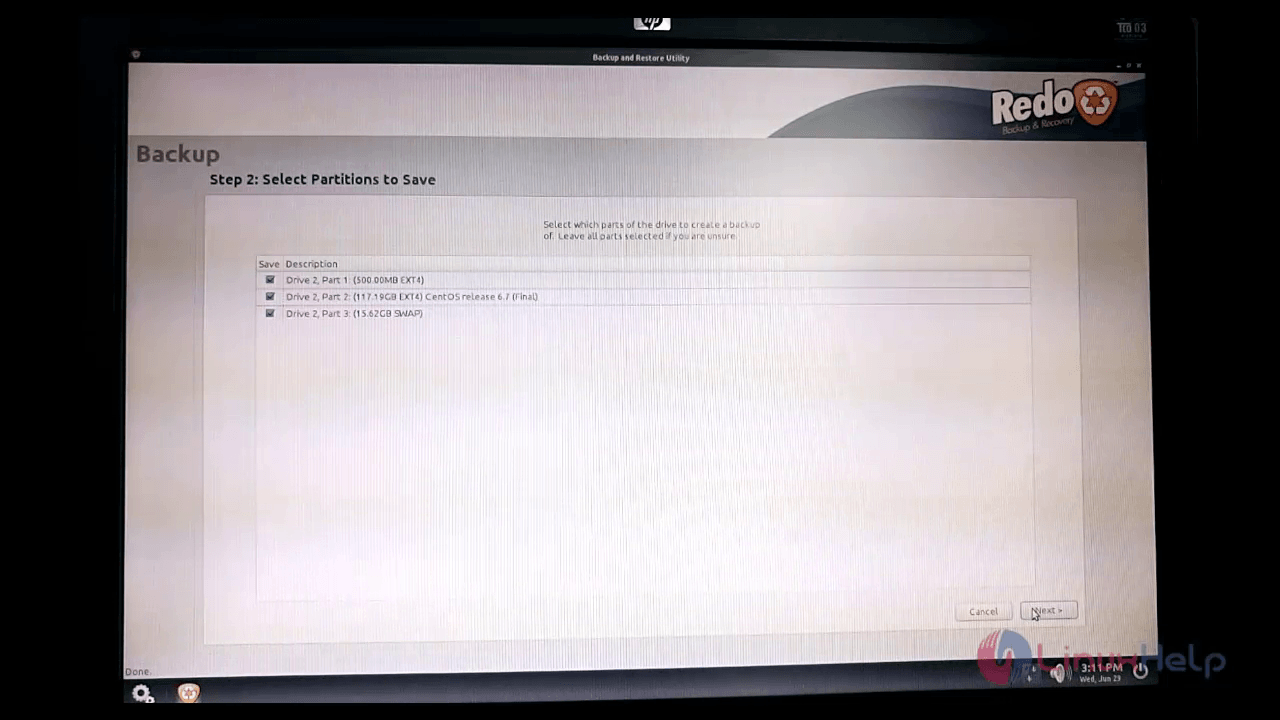
Select the partitions to backup and click next. Here, we are selecting all the three partitions.
Redo-Backup-and-Recovery-tool-take-backup-and-restore-Select-partitions

Now select the Destination drive to save and click next
Redo-Backup-and-Recovery-tool-take-backup-and-restore-select-Destination-drive
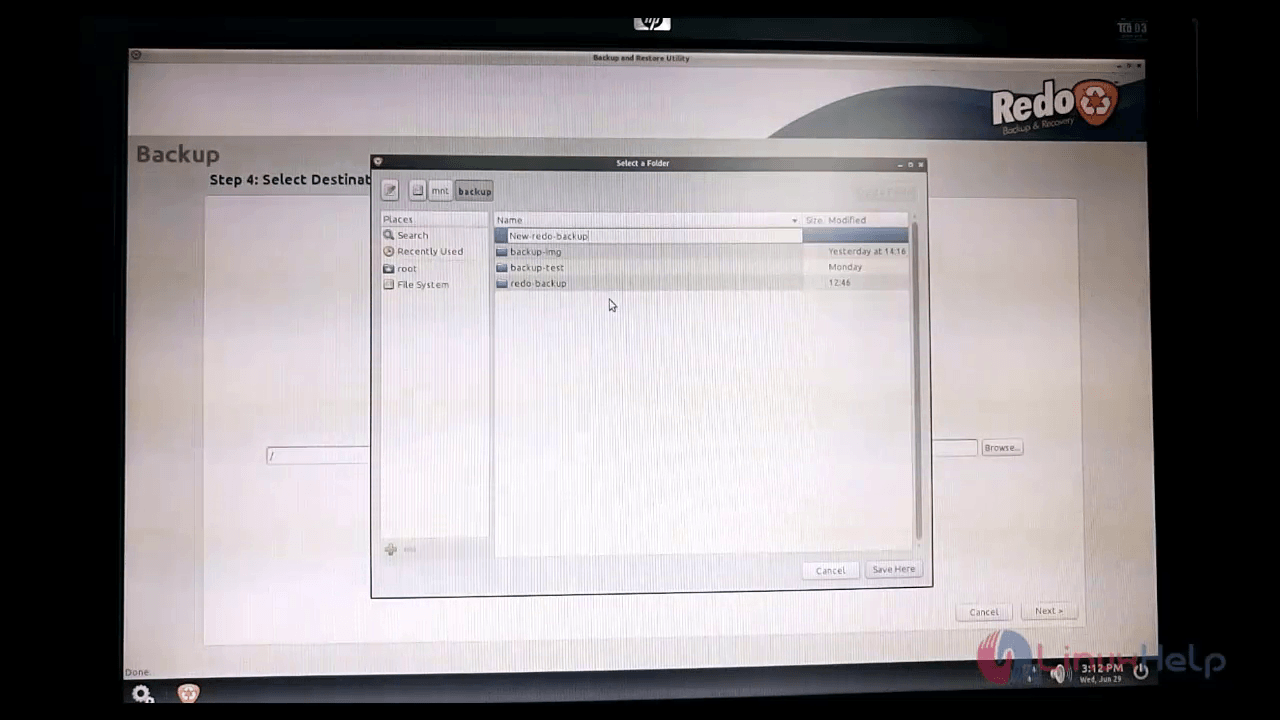
Create a new directory to save the image file. Choose browse and click create folder, enter a name and click Save here.
Redo-Backup-and-Recovery-tool-take-backup-and-restore-Create-new-directory

Redo-Backup-and-Recovery-tool-take-backup-and-restore-create-folder

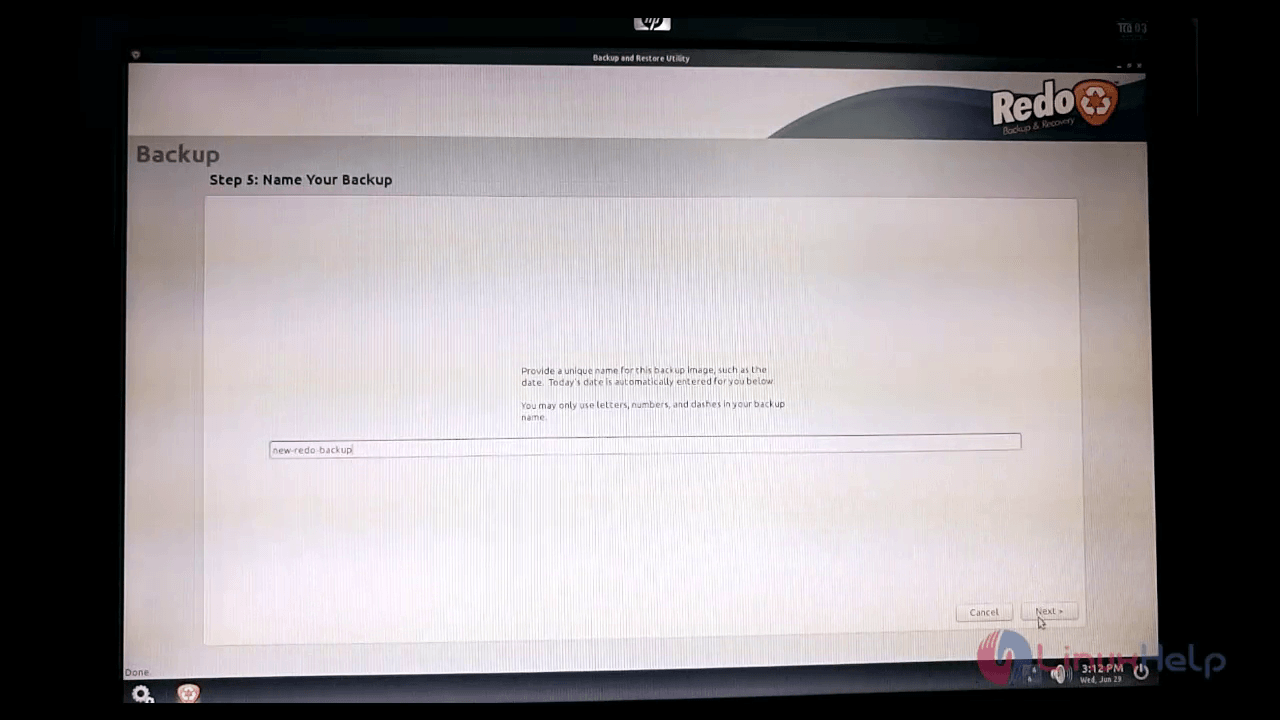
Enter the image name and click Next.
Redo-Backup-and-Recovery-tool-take-backup-and-restore-Enter-image-name

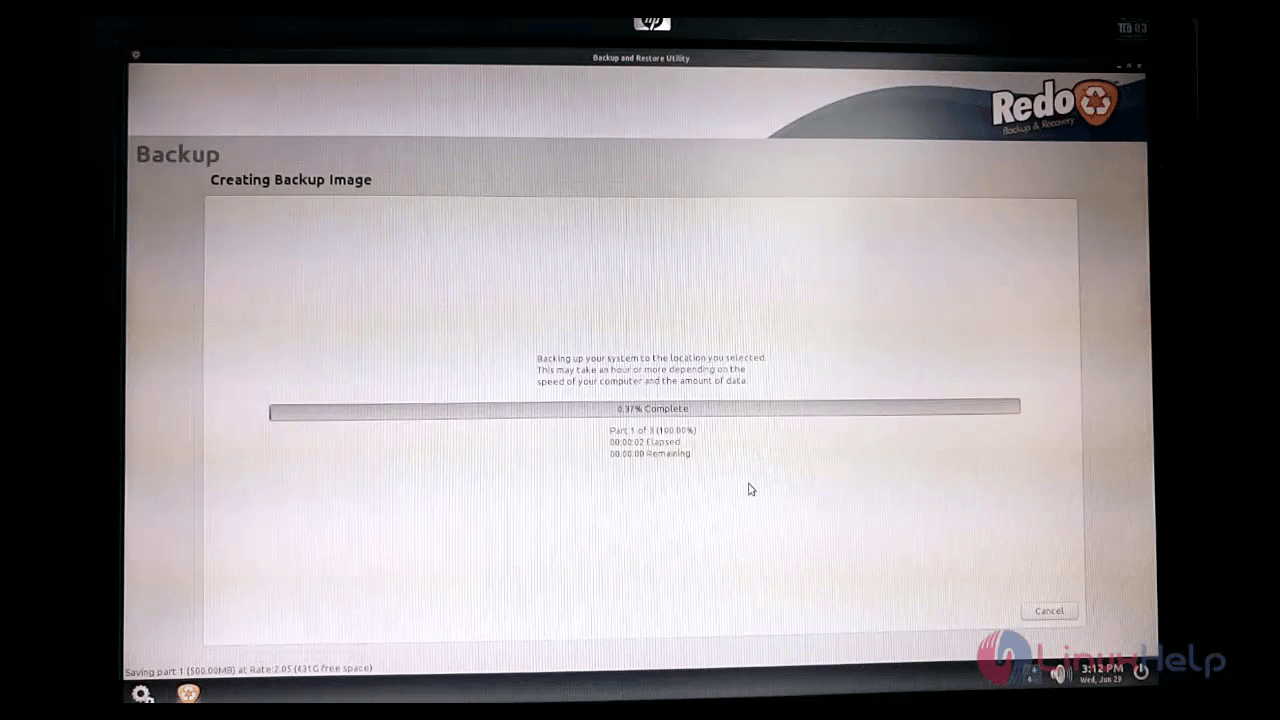
Now it starts to take the backup.
Redo-Backup-and-Recovery-tool-take-backup-and-restore-take-backup

Once its completed, a pop-up window appears with elapsed time to complete the backup.
Redo-Backup-and-Recovery-tool-take-backup-and-restore-pop-up-window-elapsed-time

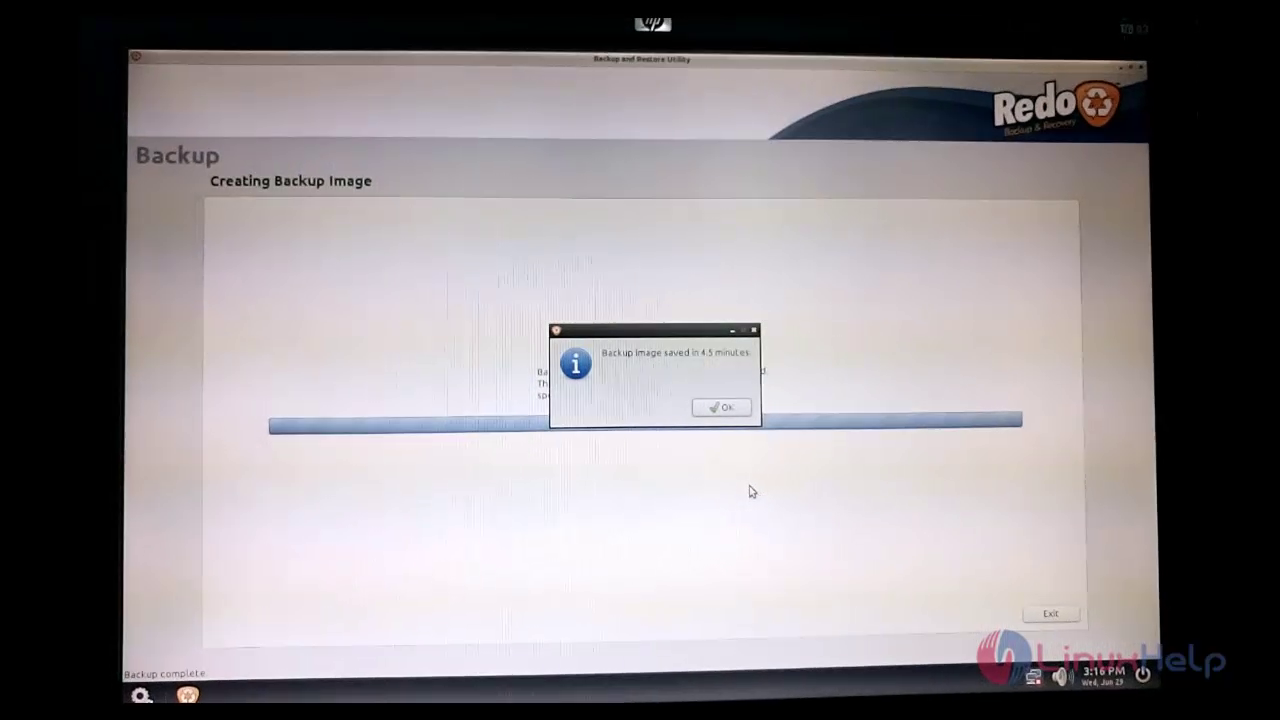
Finally click reboot.
Redo-Backup-and-Recovery-tool-take-backup-and-restore-click-reboot

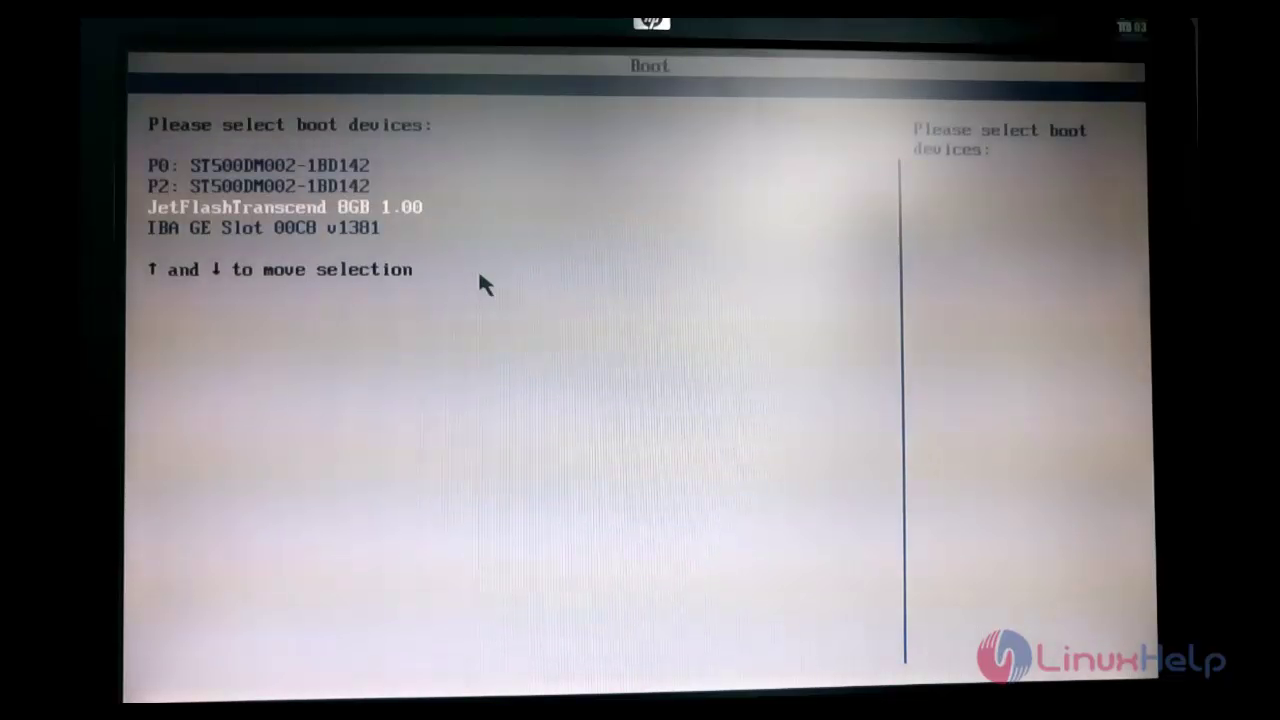
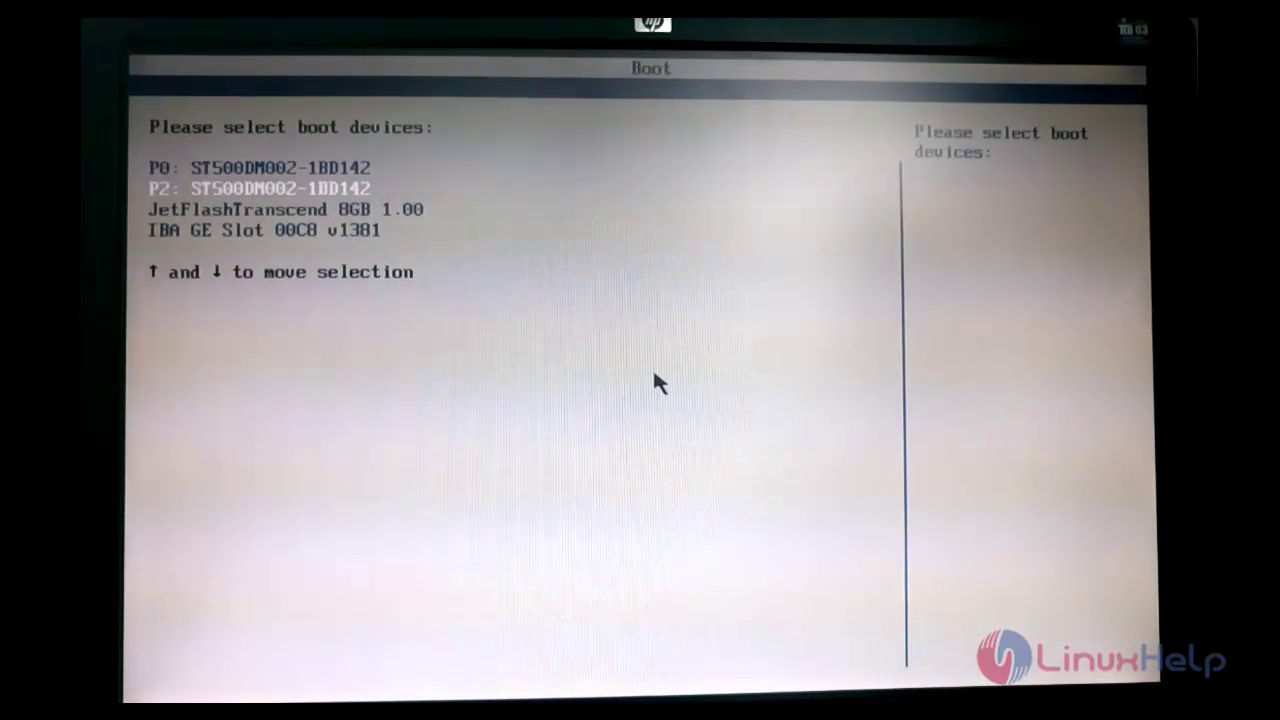
Go to boot menu and select the hard disk to check for the cloned image.
Redo-Backup-and-Recovery-tool-take-backup-and-restore-select-hard-disk

Open the terminal and mount the another Hard disk.

[root@localhost Desktop]# cd
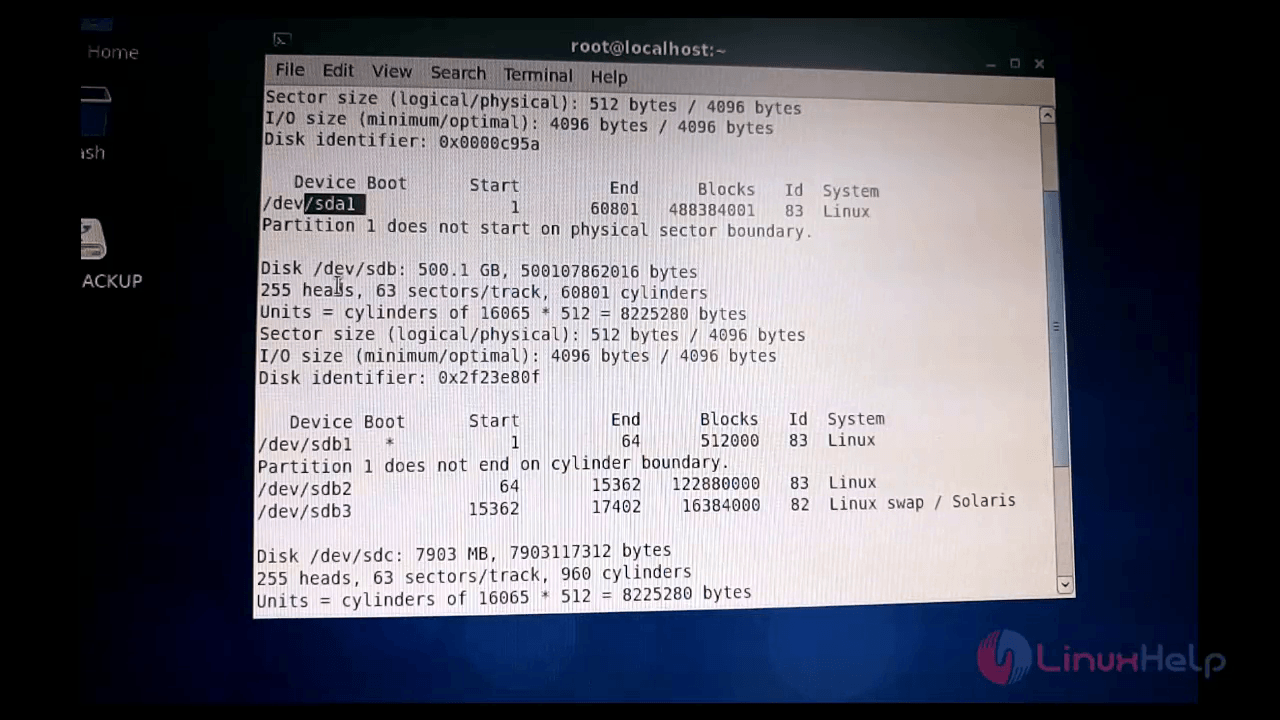
[root@localhost ~]# fdisk -l

Redo-Backup-and-Recovery-tool-take-backup-and-restore-mount-another-Hard-disk

[root@localhost ~]# mount /dev/sda1 /second-HDD/
[root@localhost ~]# df -h
Filesystem   Size  Used   Avail   Use%   Mounted on
/dev/sdb2    116G  3.4G   107G    4%      /
tmp fs       3.8G  224K   3.8G    1%      /dev/shm
/dev/sdb1    477G  42M    410M    10%     /boot
/dev/sdc1    7.4G  242M   7.2G    4%      /media/20160529
/dev/sda1    459G  6.5G   429G    2%      /second-HDD
[root@localhost ~]# cd /second-HDD/
[root@localhost second-HDD]# ls -l
total 16
drwxr-xr-x. 2 root root 1395 jun 28 19:46 backup-img
drwxr-xr-x. 2 root root 1395 jun 28 01:13 backup-test
drwxr-xr-x. 2 root root 1395 jun 28 20:44 New-redo-backup
drwxr-xr-x. 2 root root 1395 jun 28 18:16 redo-backup

Now check the files inside New-redo-backup image.

[root@localhost second-HDD]# cd New-redo-backup/
[root@localhost New-redo-backup]# ls -l
total 1888492
-rw-r--r--. 1 root root 14 jun 29 20:42 new-redo-backup.backup
-rw-r--r--. 1 root root 32768 jun 29 20:42 new-redo-backup.mbr
.
.
.
-rw-r--r--. 1 root root 13 jun 29 20:42 new-redo-backup.size

Lets restore the cloned image to this CentOS hard disk. For that process delete some directories in root.

[root@localhost ~]# cd /
[root@localhost /]# ls -l

Redo-Backup-and-Recovery-tool-take-backup-and-restore-delete-directories-in-root

Run the following command to remove few directories.

[root@localhost /]# rm -rf home
[root@localhost /]# rm -rf lib
[root@localhost /]# rm -rf tmp
[root@localhost /]# rm -rf opt
[root@localhost /]# rm -rf mnt

Reboot the system to start the restore process.

[root@localhost /]# reboot

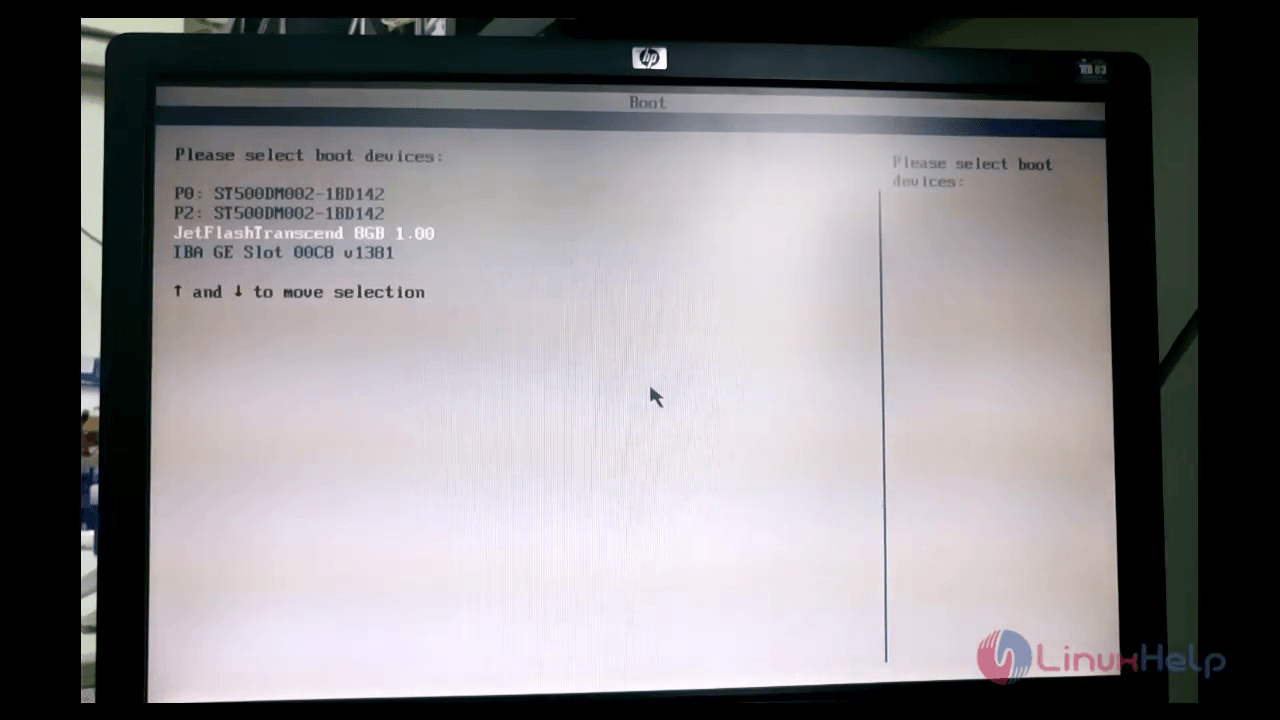
Go to the boot menu and select the USB drive to be booted.

Redo-Backup-and-Recovery-tool-take-backup-and-restore-select-USB-drive

Redo-Backup-and-Recovery-tool-take-backup-and-restore-select-redo-backup
Choose restore option.
Redo-Backup-and-Recovery-tool-take-backup-and-restore-restore-option
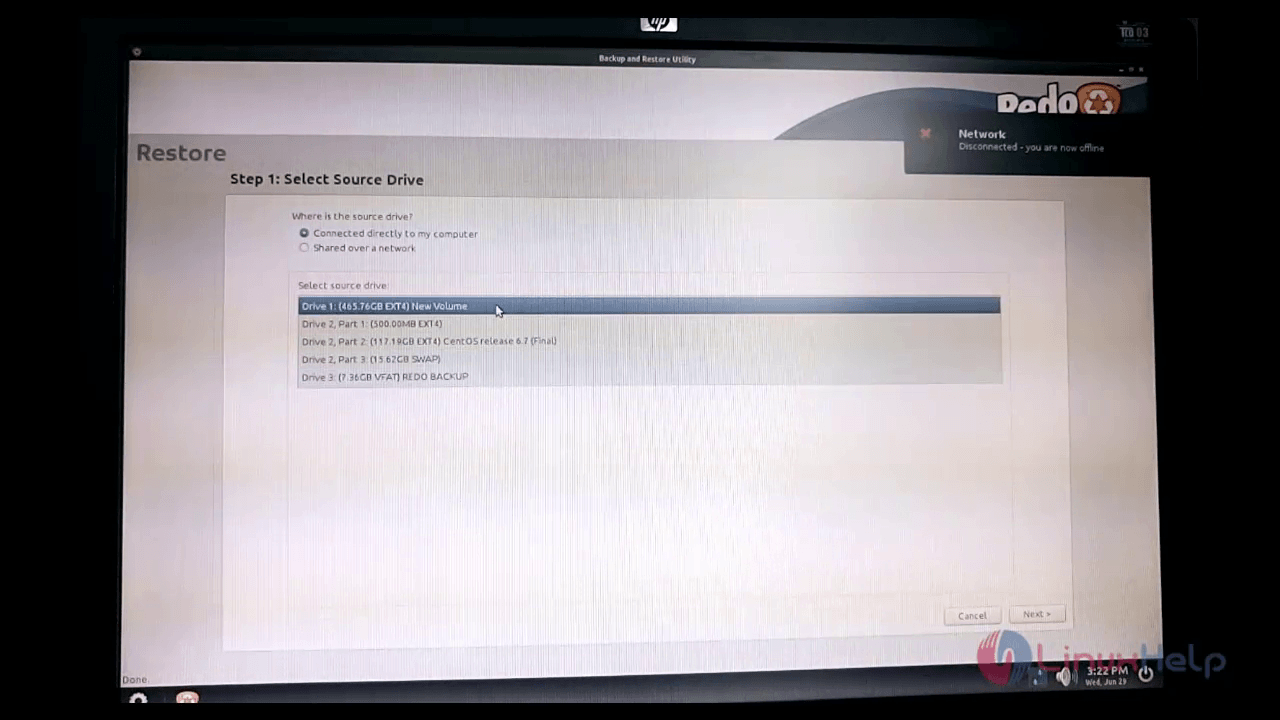
Select the source file and click Next. Here, the source file is in Drive 1.
Redo-Backup-and-Recovery-tool-take-backup-and-restore-Drive-1
Redo-Backup-and-Recovery-tool-take-backup-and-restore-select-source-drive
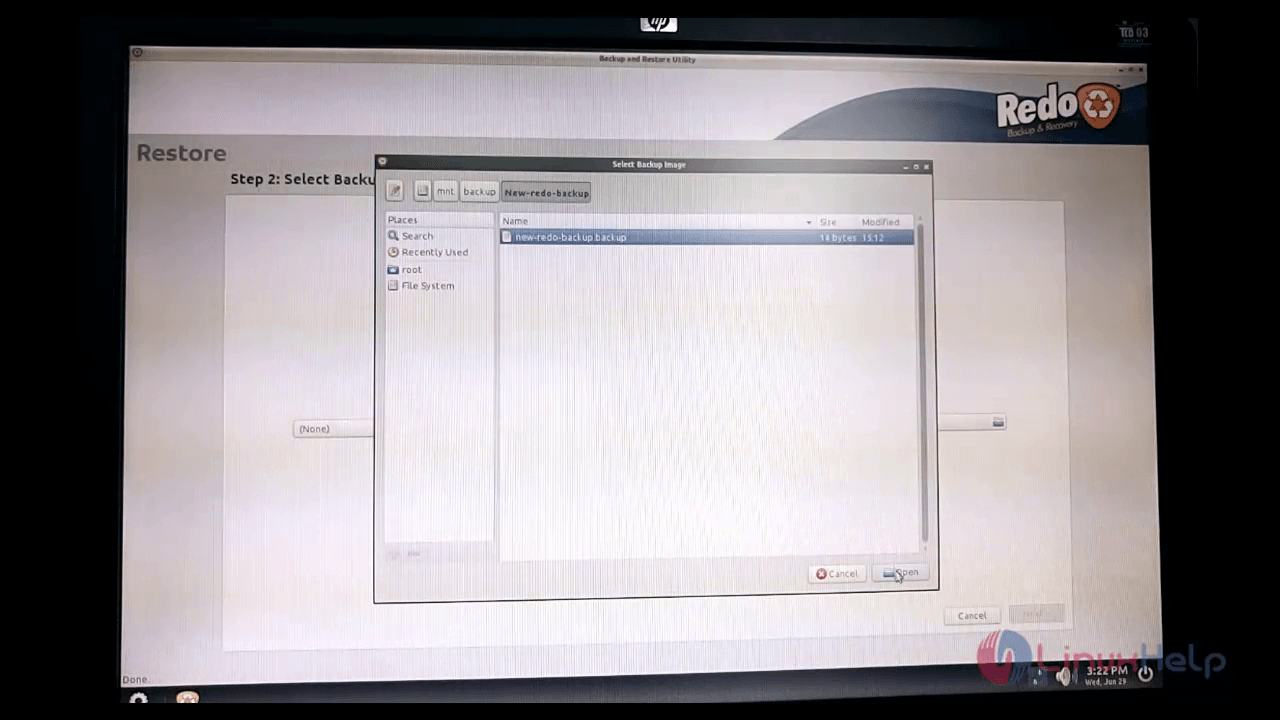
Now choose the path of the backup image and click Open.
Redo-Backup-and-Recovery-tool-take-backup-and-restore-choose-path

Redo-Backup-and-Recovery-tool-take-backup-and-restore-backup-image
Select the destination drive and click Next.
Redo-Backup-and-Recovery-tool-take-backup-and-restore-destination-drive
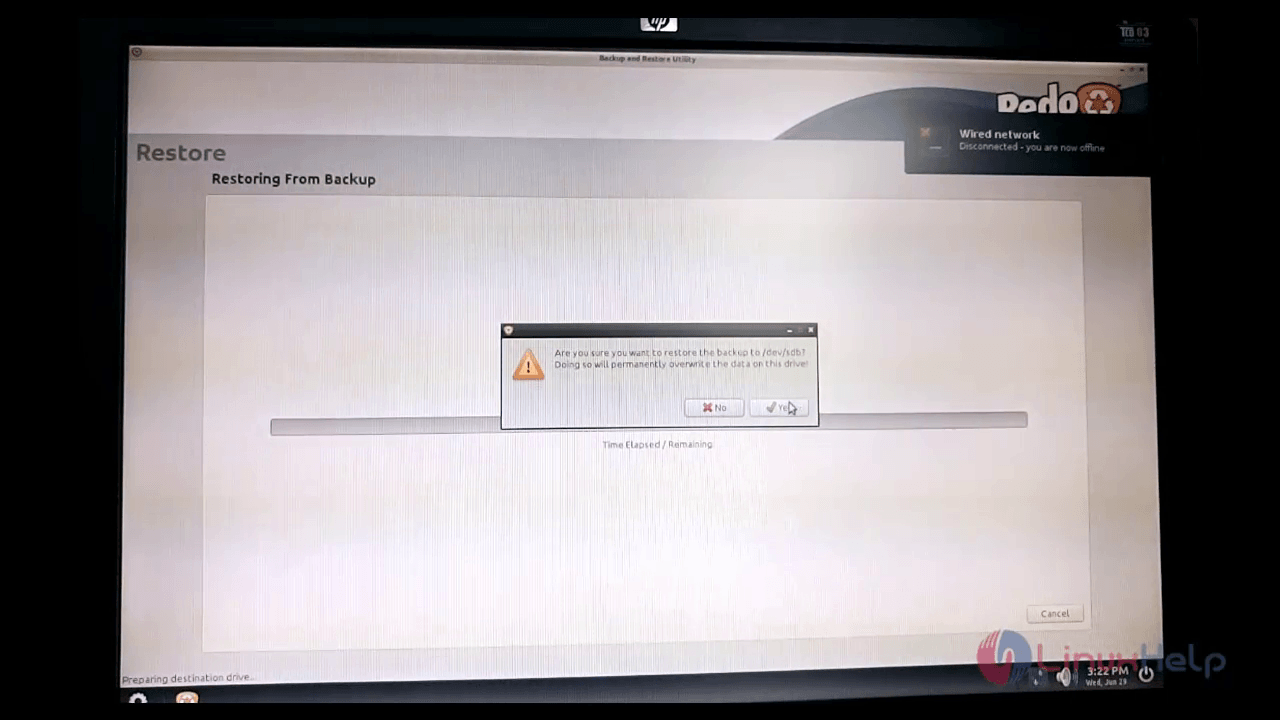
Click yes to confirm the restore process.
Redo-Backup-and-Recovery-tool-take-backup-and-restore-Click-yes

Redo-Backup-and-Recovery-tool-take-backup-and-restore-restore-process
Redo-Backup-and-Recovery-tool-take-backup-and-restore-restoring-complete
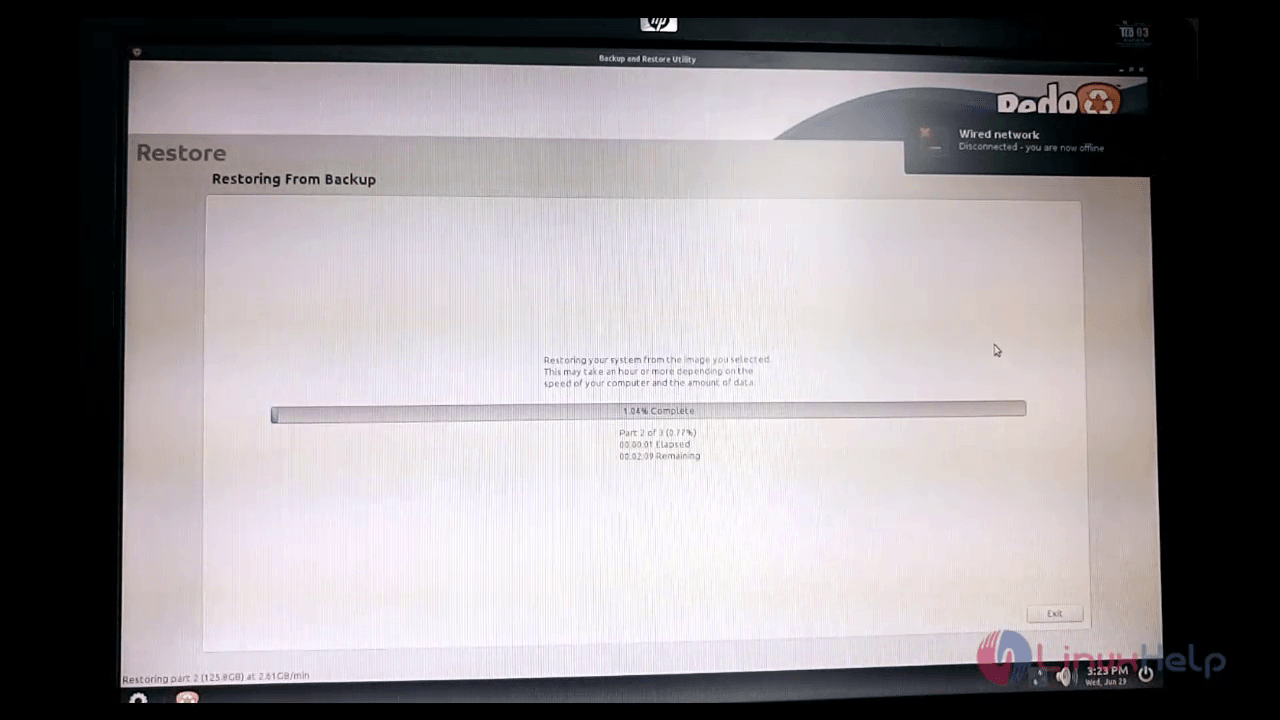
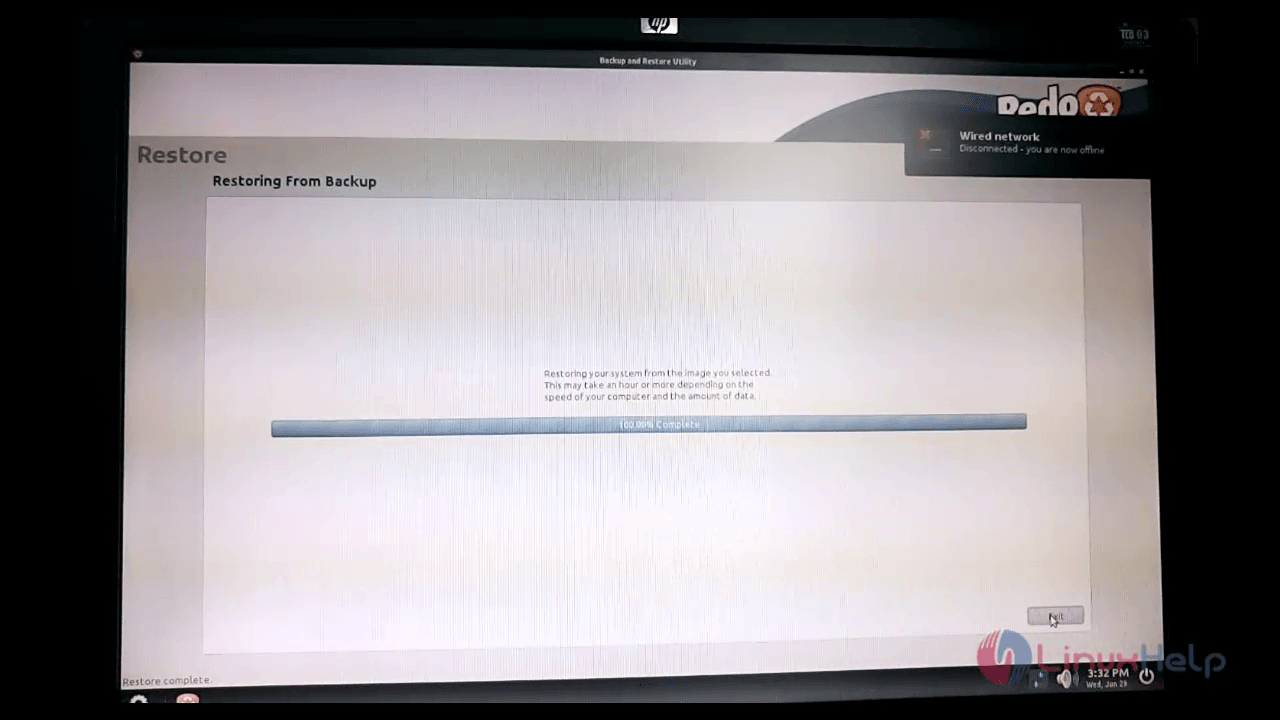
Once its completed, reboot the system.
Redo-Backup-and-Recovery-tool-take-backup-and-restore-reboot
Go to boot menu and select the CentOS hard disk to verify the removed directories are restored.
Redo-Backup-and-Recovery-tool-take-backup-and-restore-boot-menu
Open the " / " dirctory and list the files in it

[root@localhost ~]# cd /
[root@localhost /]# ls -l

Redo-Backup-and-Recovery-tool-take-backup-and-restore-removed-directories-restored

You can view that all the removed directories are restored successfully.

Tags:
grayson
Author: 

Comments ( 0 )

No comments available

Add a comment
{{postCtrl.cmtErrMsg}}

Frequently asked questions ( 5 )

Q

What is Redo Backup and Recovery?

A

1. Redo Backup and Recovery is an opensource backup and recovery tool.
2. It supports GUI and stores the backup data in the external hard drives or in network shares.

Q

How to create a backup image of your computer?

A

We just follow these steps:
1. Click on “Backup” to create a full system backup.
2. Select the source drive from the drop-down list that you would like to create a backup image from. Click on Next.
3. Select which parts of the drive to create a backup of. Leave all parts selected if you are unsure. Click on “Next“.
4. Select Destination Drive it could be local drive connected to your 1.computer or shared network drive.
2. Gparted - for partitioning edition
3. a logical volume manager
4.Photorec for data recovery
5Chromium for Internet navigation.

Q

What is the content of Redo Backup & Recovery?

A

This distribution contains the Redo Backup software, starting immediately after the GUI loading.

Q

How to remove directories?

A

Follow this command
# rm -rf home

Q

How can I Check the New-redo-backup image?

A

Use the following command
# cd New-redo-backup/
# ls -l

Back To Top!
Rank
User
Points

Top Contributers

userNamenaveelansari
135850

Top Contributers

userNameayanbhatti
92510

Top Contributers

userNamehamzaahmed
32150

Top Contributers

1
userNamelinuxhelp
31040

Top Contributers

userNamemuhammadali
24500
Can you help Lucas ?
Various options in Top command

Am using Top command only to view the load average, what are the various options in Top command..??

Networking
  • Routing
  • trunk
  • Netmask
  • Packet Capture
  • domain
  • HTTP Proxy
Server Setup
  • NFS
  • KVM
  • Memory
  • Sendmail
  • WebDAV
  • LXC
Shell Commands
  • Cloud commander
  • Command line archive tools
  • last command
  • Shell
  • terminal
  • Throttle
Desktop Application
  • Linux app
  • Pithos
  • Retrospect
  • Scribe
  • TortoiseHg
  • 4Images
Monitoring Tool
  • Monit
  • Apache Server Monitoring
  • EtherApe 
  • Arpwatch Tool
  • Auditd
  • Barman
Web Application
  • Nutch
  • Amazon VPC
  • FarmWarDeployer
  • Rukovoditel
  • Mirror site
  • Chef
Contact Us | Terms of Use| Privacy Policy| Disclaimer
© 2025 LinuxHelp.com All rights reserved. Linux™ is the registered trademark of Linus Torvalds. This site is not affiliated with linus torvalds in any way.