How to Install Wireshark in Ubuntu
To install Wireshark in Ubuntu
Wireshark is an open-source protocol analyzer software which is used for monitoring and troubleshooting the network traffic. It tries to capture the network packets and displays them with detailed protocol information. The installation of Wireshark on Ubuntu is briefed in this article.
To install Wireshark
Before the installation of Wireshark, it is essential to add it in your repository.
root@linuxhelp1:~# add-apt-repository ppa:wireshark-dev/stable
 Latest stable Wireshark releases back-ported from Debian package versions.

Back-porting script is available at https://github.com/rbalint/pkg-wireshark-ubuntu-ppa
 More info: https://launchpad.net/~wireshark-dev/+archive/ubuntu/stable
Press [ENTER] to continue or ctrl-c to cancel adding it

gpg: keyring `/tmp/tmpwqdv9zqe/secring.gpg'  created
gpg: keyring `/tmp/tmpwqdv9zqe/pubring.gpg'  created
gpg: requesting key 14ECA0F0 from hkp server keyserver.ubuntu.com
gpg: /tmp/tmpwqdv9zqe/trustdb.gpg: trustdb created
gpg: key 14ECA0F0: public key " Launchpad PPA for Wireshark Developers"  imported
gpg: Total number processed: 1
gpg:               imported: 1  (RSA: 1)
OK
Once the repository is added, invoke the following command to update it.
root@linuxhelp1:~# apt-get update
Get:1 http://ppa.launchpad.net/wireshark-dev/stable/ubuntu xenial InRelease [18.1 kB]
Hit:2 http://in.archive.ubuntu.com/ubuntu xenial InRelease
Hit:3 http://security.ubuntu.com/ubuntu xenial-security InRelease
Hit:4 http://in.archive.ubuntu.com/ubuntu xenial-updates InRelease
Hit:5 http://in.archive.ubuntu.com/ubuntu xenial-backports InRelease
Get:6 http://ppa.launchpad.net/wireshark-dev/stable/ubuntu xenial/main amd64 Packages [3,820 B]
Get:7 http://ppa.launchpad.net/wireshark-dev/stable/ubuntu xenial/main i386 Packages [3,824 B]
Get:8 http://ppa.launchpad.net/wireshark-dev/stable/ubuntu xenial/main Translation-en [1,556 B]
Fetched 27.3 kB in 3s (7,956 B/s)
Reading package lists... Done
After the repository is updated, install the Wireshark package with the following command.
root@linuxhelp1:~# apt-get install wireshark -y
Reading package lists... Done
Building dependency tree
Reading state information... Done
The following additional packages will be installed:
  geoip-database-extra javascript-common libc-ares2 libjs-openlayers libnghttp2-14 libnl-route-3-200 libqgsttools-p1
  libqt5multimedia5-plugins libqt5multimediawidgets5 libsmi2ldbl libwireshark-data libwireshark8 libwiretap6 libwscodecs1
  libwsutil7 wireshark-common wireshark-qt
Suggested packages:
  apache2 | lighttpd | httpd snmp-mibs-downloader wireshark-doc
The following NEW packages will be installed:
  geoip-database-extra javascript-common libc-ares2 libjs-openlayers libnghttp2-14 libnl-route-3-200 libqgsttools-p1
  libqt5multimedia5-plugins libqt5multimediawidgets5 libsmi2ldbl libwireshark-data libwireshark8 libwiretap6 libwscodecs1
  libwsutil7 wireshark wireshark-common wireshark-qt
0 upgraded, 18 newly installed, 0 to remove and 416 not upgraded.
Need to get 31.1 MB of archives.
After this operation, 136 MB of additional disk space will be used.
Get:1 http://in.archive.ubuntu.com/ubuntu xenial/universe amd64 geoip-database-extra all 20160408-1 [12.1 MB]
Get:2 http://ppa.launchpad.net/wireshark-dev/stable/ubuntu xenial/main amd64 libwireshark-data all 2.2.1+ga6fbd27-1~xenial1 [931 kB]
.
.
.
Setting up libwiretap6:amd64 (2.2.1+ga6fbd27-1~xenial1) ...
Setting up libwscodecs1:amd64 (2.2.1+ga6fbd27-1~xenial1) ...
Setting up libwireshark8:amd64 (2.2.1+ga6fbd27-1~xenial1) ...
Setting up wireshark-common (2.2.1+ga6fbd27-1~xenial1) ...
Setting up wireshark-qt (2.2.1+ga6fbd27-1~xenial1) ...
Setting up wireshark (2.2.1+ga6fbd27-1~xenial1) ...
Processing triggers for libc-bin (2.23-0ubuntu3) ...
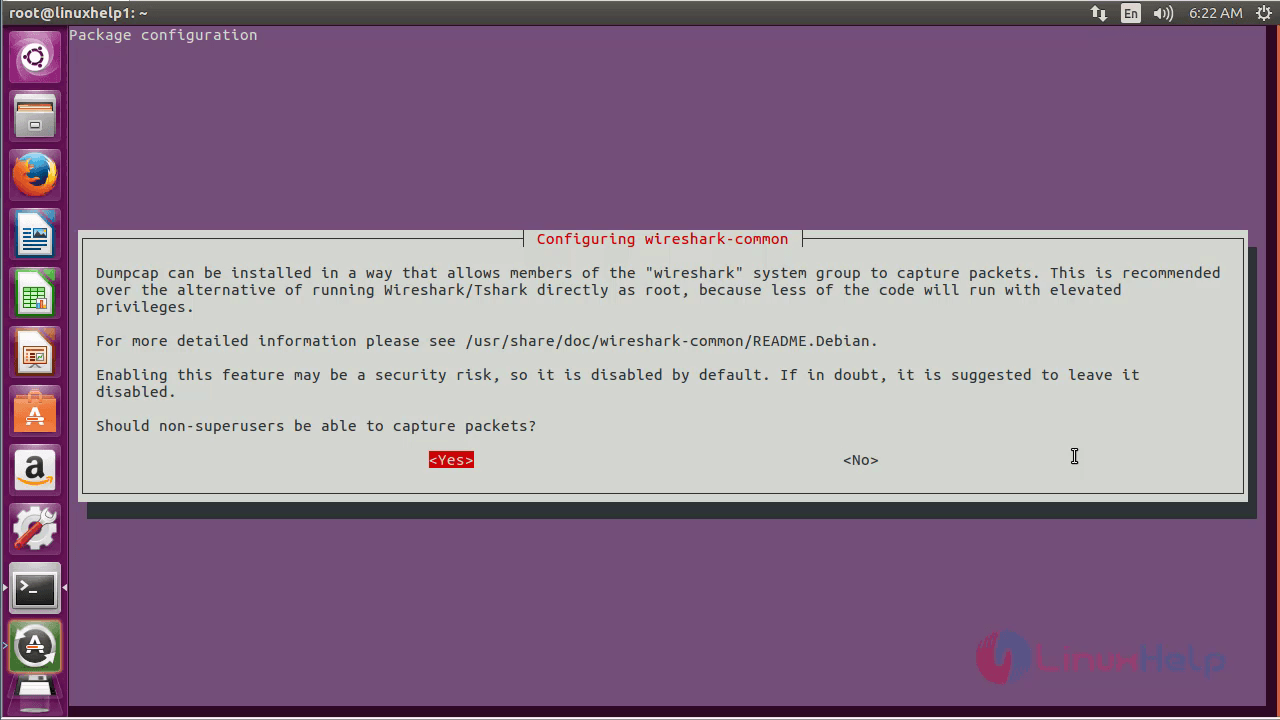
During the installation, you' ll get a prompt which asks if non sudo users can capture packets. Grant it as follows.
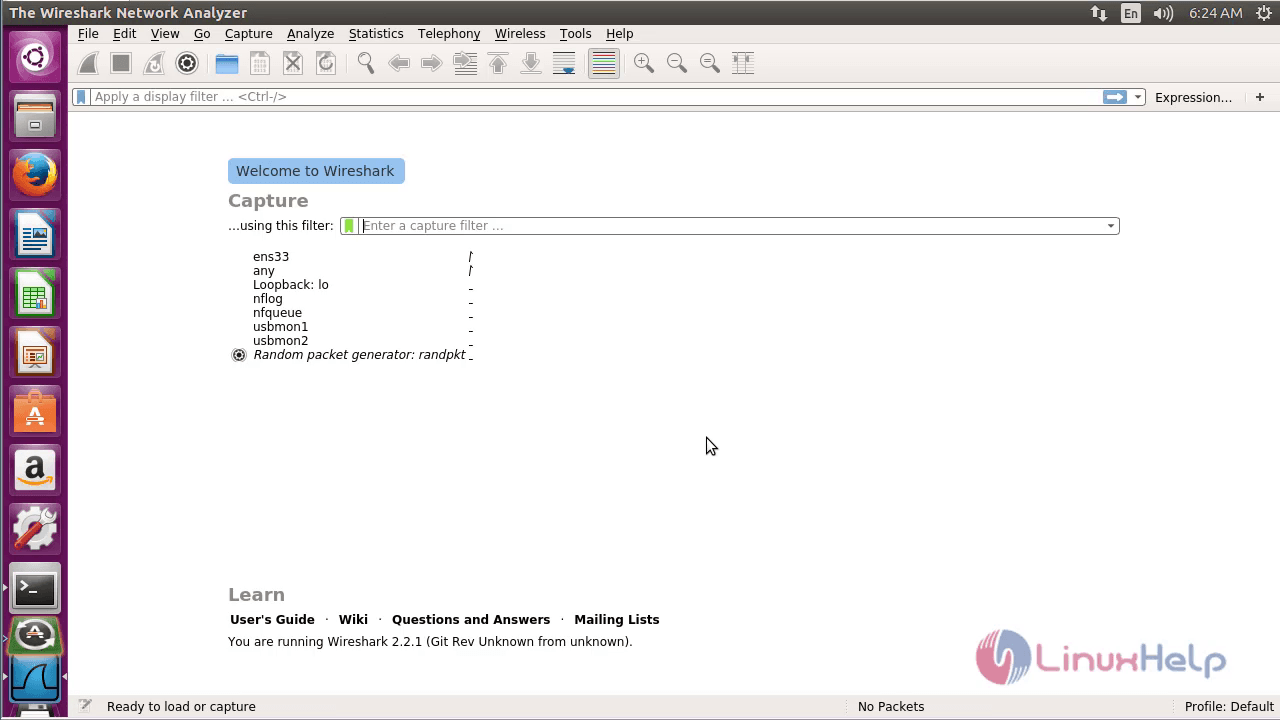
Once the installation is complete, use the following command to open Wireshark.
root@linuxhelp1:~# wireshark
Wireshark window opens as follows.
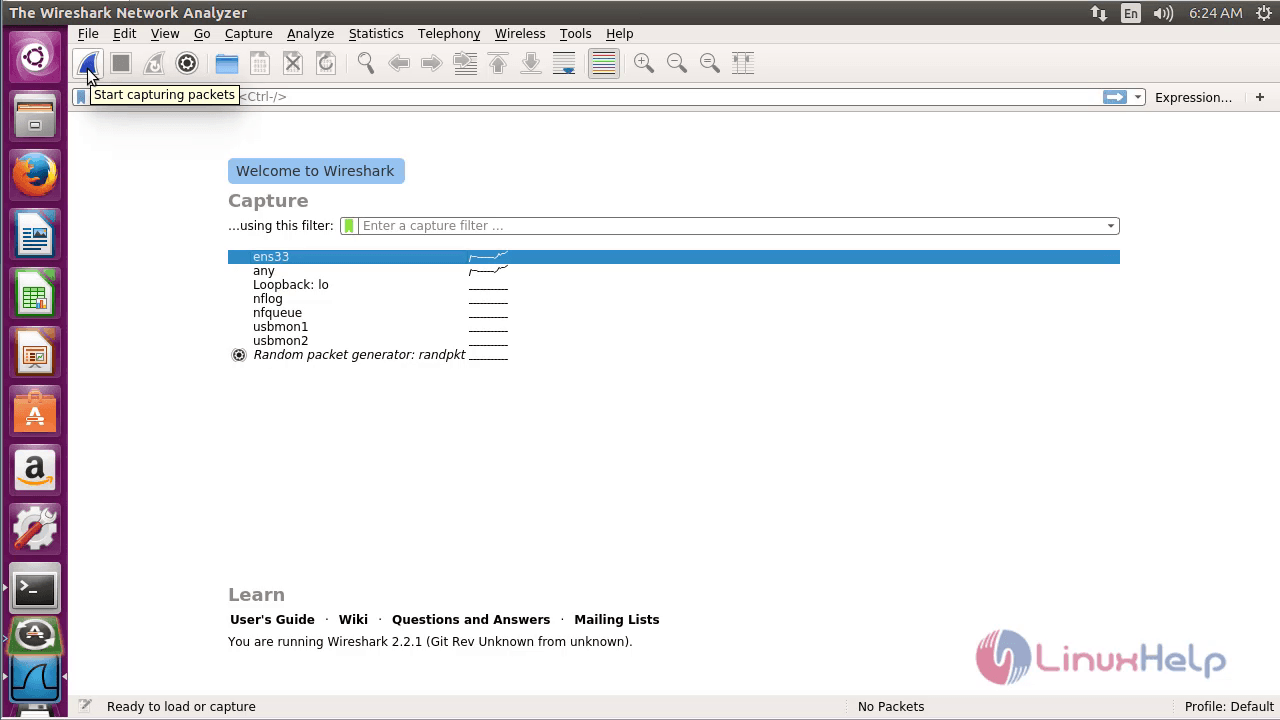
Now click on the required interface for which you want to analyze the packets and then click start option as follows.
The option ens33 is chosen here for packet analyzing.
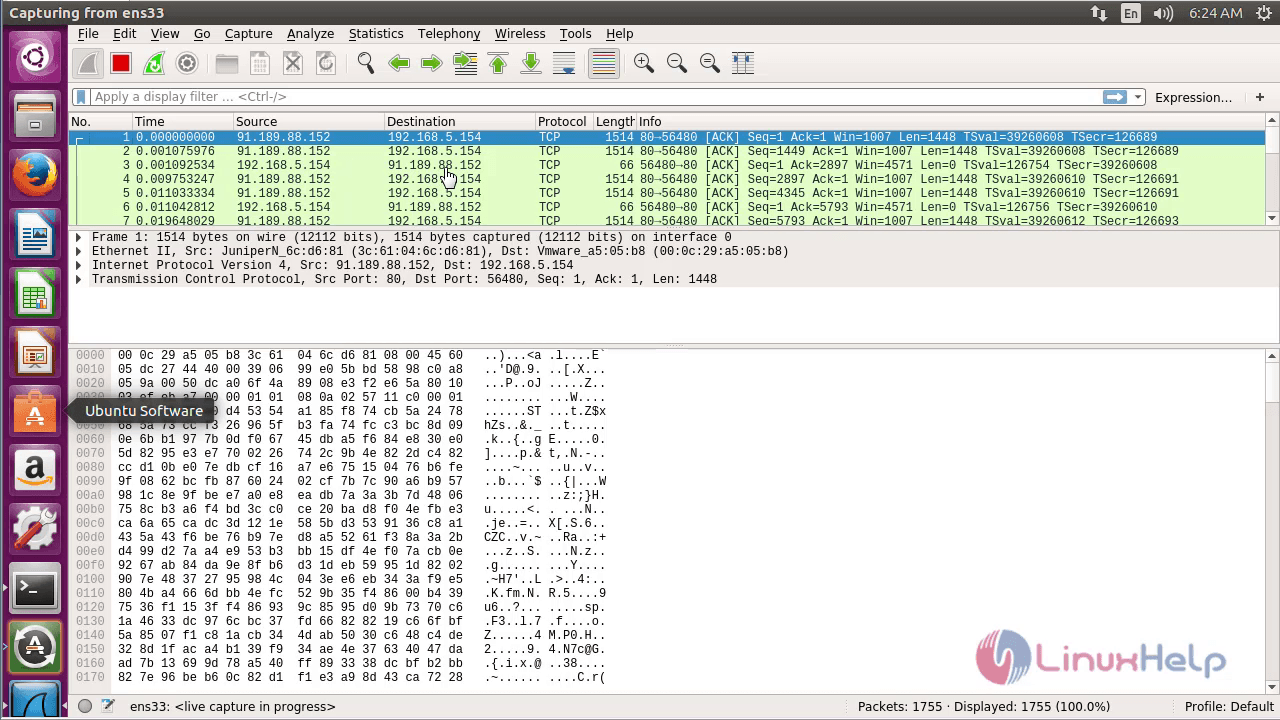
The Wireshark starts packet analyzing as follows.
|
Terminal 1 |
Displays the list of packet transfer details |
|
Terminal 2 |
Displays the packet details of the selected IP addresses |
|
Terminal 3 |
Displays the packet contents in ASCII and hexadecimal format |
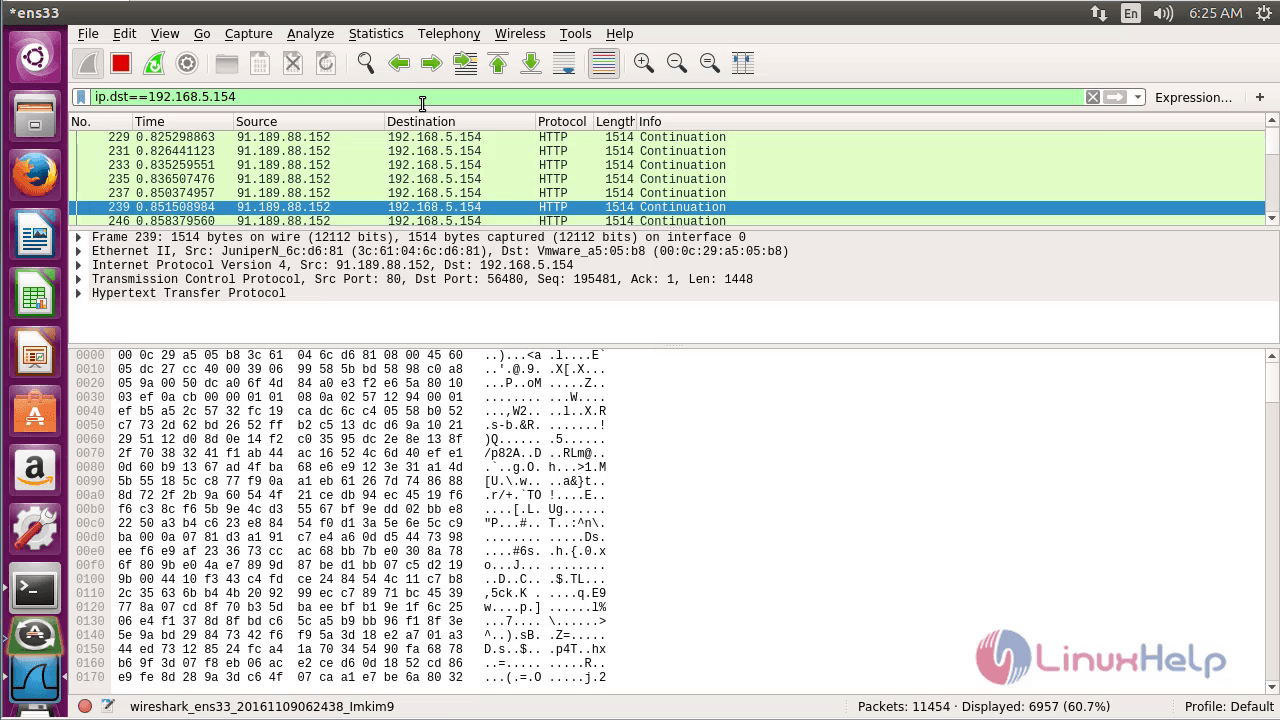
Now filter the packets based on source and destination IP address as follows.
1. Source IP
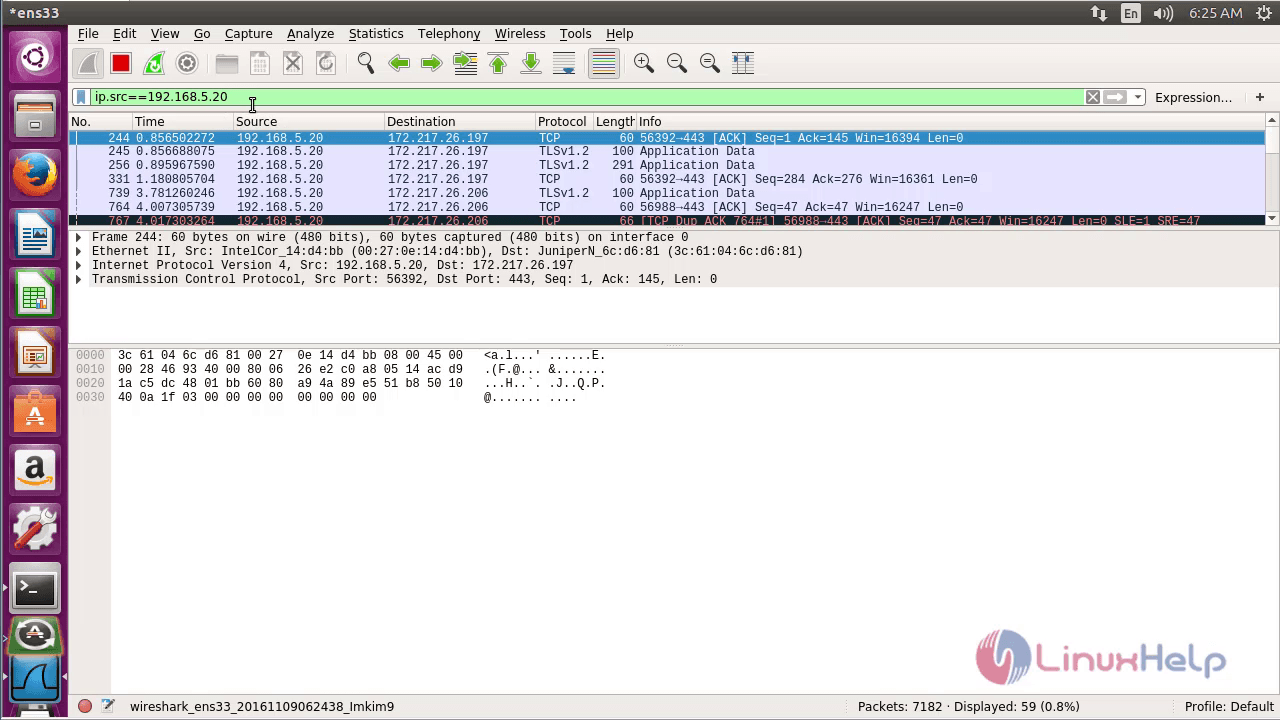
2. Destination IP
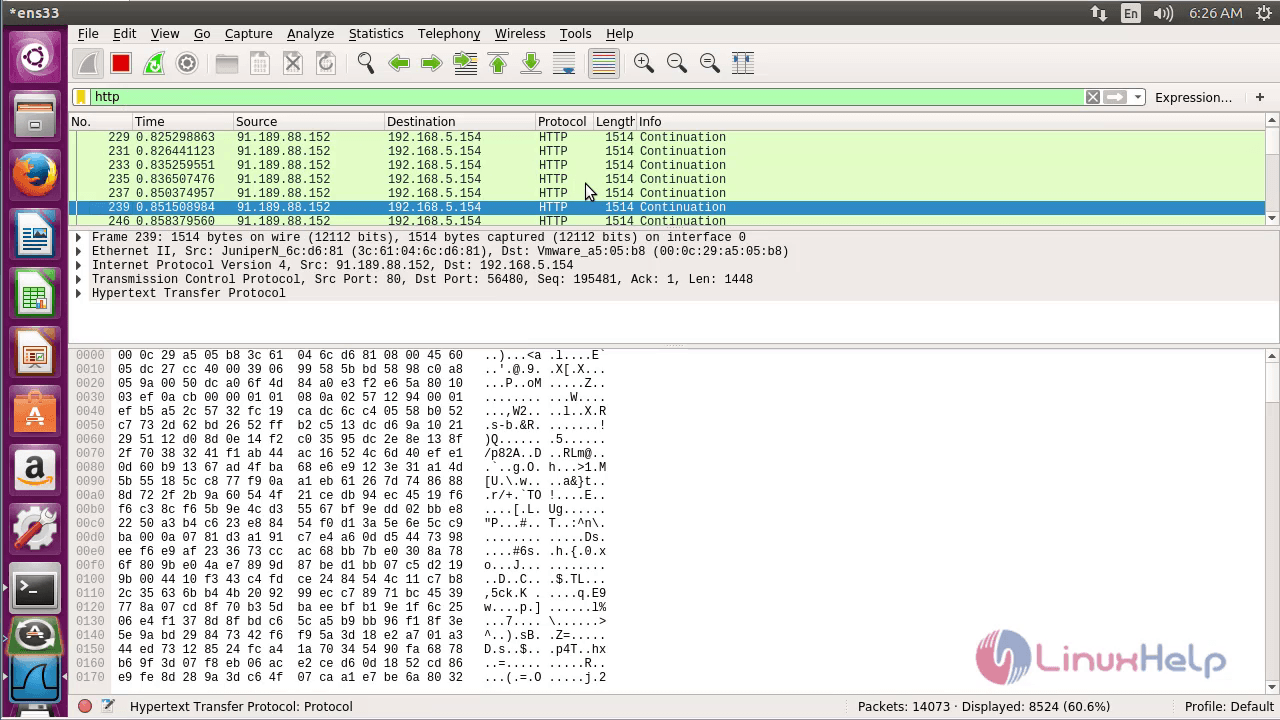
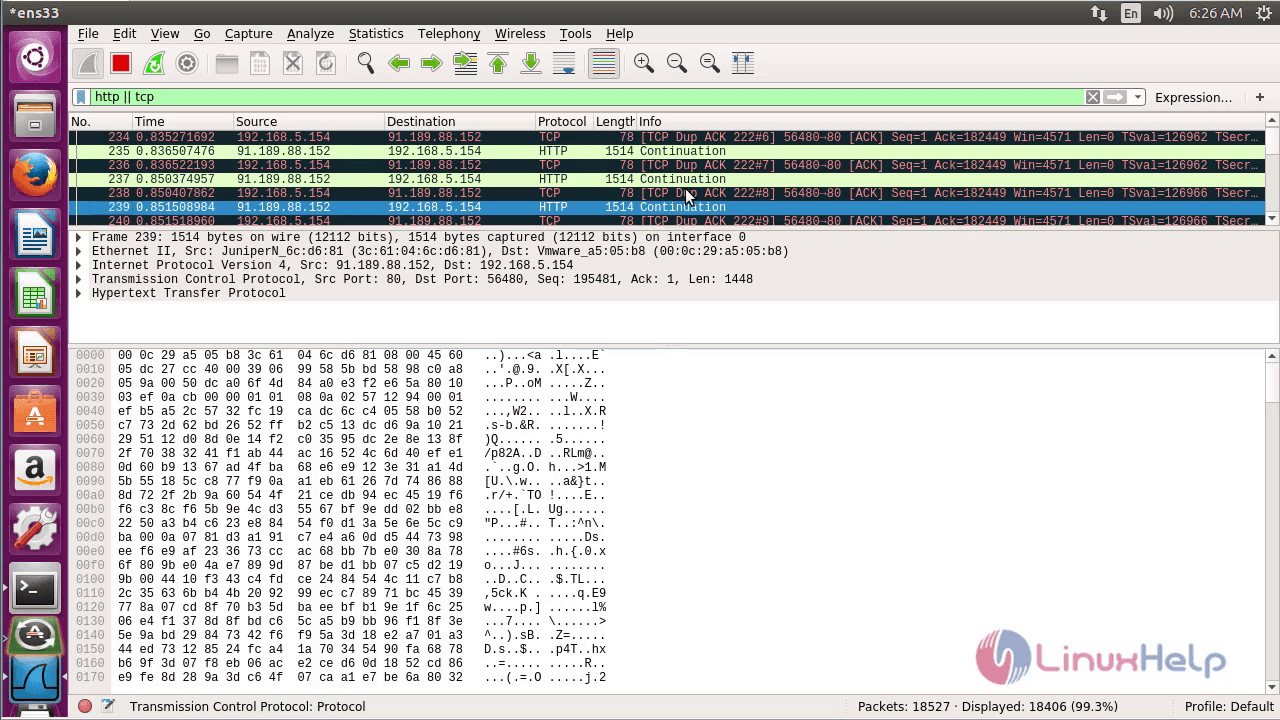
The packets can also be filtered based on the service as follows.
Here, it is filtered based on ' || ' condition. The below image depicts the same.
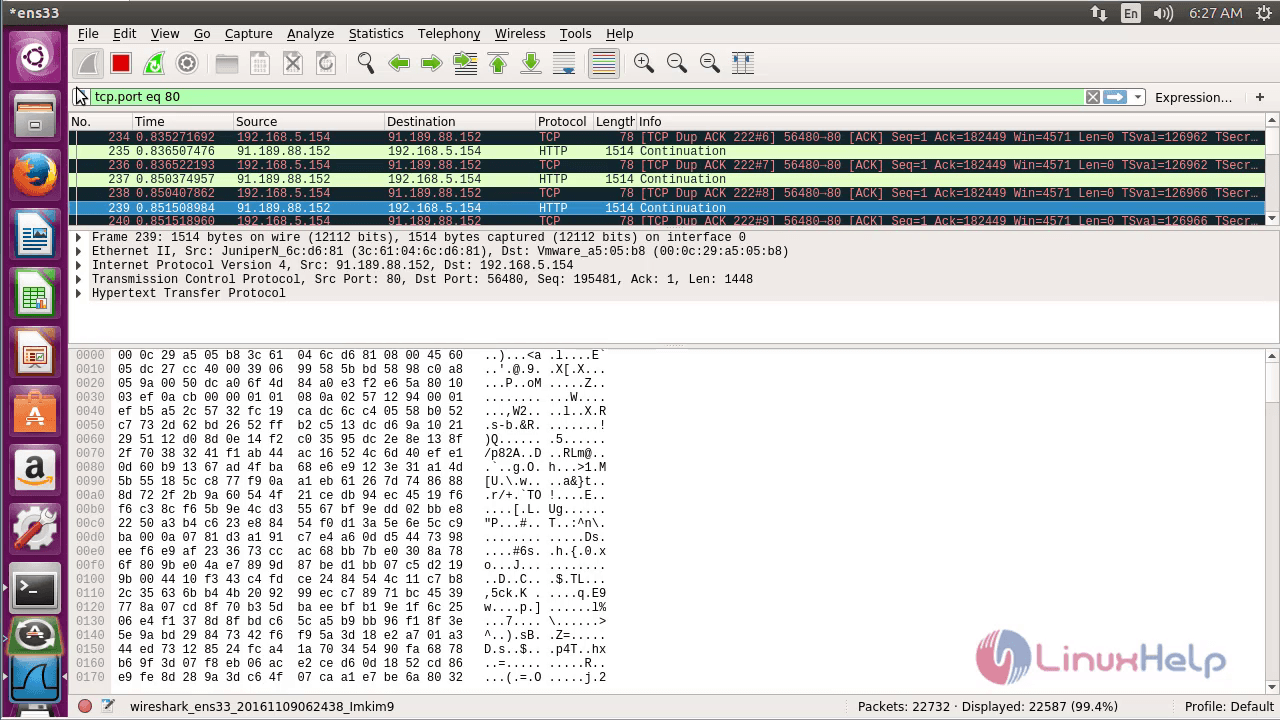
The packets with port numbers is filtered as shown below.
Comments ( 0 )
No comments available