How to Install Tiki Wiki CMS on Linuxmint 19
- 00:47 lsb_release -a
- 01:01 mysql -u root -p
- 02:16 wget https://liquidtelecom.dl.sourceforge.net/project/tikiwiki/Tiki_20.x_Tarazed/20.0/tiki-20.0.zip
- 02:34 unzip tiki-20.0.zip
- 02:45 mv tiki-20.0 /var/www/tiki
- 02:55 chown -R www-data.www-data /var/www/tiki
- 03:08 chmod -R 755 /var/www/tiki
- 03:23 vim /etc/apache2/sites-available/tiki.conf
- 04:28 a2dissite 000-default.conf
- 04:43 a2ensite tiki.conf
- 04:54 a2enmod rewrite
- 05:05 systemctl restart apache2
Installation Of Tiki Wiki CMS On Linuxmint 19
Tiki Wiki is a free and open source Wiki-based Content Management System written in PHP. It contains a number of collaboration features and acts as a Geospatial Content Management System (GeoCMS). It also contains some basic features of a CMS and maintains individual user accounts within a flexible and rich privilege system, RSS feeds and customize page layout. In this tutorial, we will cover the installation of Tiki Wiki CMS Groupware on Linuxmint 19.
Rqeuirements for Tiki Wiki CMS:
Apache
Mysql
PHP and Its modules
php-mysql php-mbstring php-zip php-soap php-curl php-gd php-ldap php-imap php-common php-dev libmcrypt-dev php-pear
Installation procedure
Before you begin the installation process, Check the Linuxmint version by using the following command.
root@linuxhelp:~# lsb_release -a
No LSB modules are available.
Distributor ID:	LinuxMint
Description:	Linux Mint 19 Tara
Release:	19
Codename:	tara
Configure the MySQL database. Log into MySQL as a root user and make the necessary settings.
root@linuxhelp:~# mysql -u root -p
Enter password:
Welcome to the MySQL monitor.  Commands end with ; or \g.
Your MySQL connection id is 4
Server version: 5.7.26-0ubuntu0.18.04.1 (Ubuntu)
Copyright (c) 2000, 2019, Oracle and/or its affiliates. All rights reserved.
Oracle is a registered trademark of Oracle Corporation and/or its
affiliates. Other names may be trademarks of their respective
owners.
Type 'help;' or '\h' for help. Type '\c' to clear the current input statement.
mysql> create database tikidb;
Query OK, 1 row affected (0.01 sec)
mysql> create user 'tikiuser'@localhost identified by 'Linuxc#4';
Query OK, 0 rows affected (0.10 sec)
mysql> grant all privileges on tikidb.* to 'tikiuser'@localhost;
Query OK, 0 rows affected (0.00 sec)
mysql> flush privileges;
Query OK, 0 rows affected (0.00 sec)
mysql> exit
Bye
Once the database configuration is done, Download the installation package of Tiki Wiki CMS by using the wget command. The link is given in the command.
root@linuxhelp:~# wget https://liquidtelecom.dl.sourceforge.net/project/tikiwiki/Tiki_20.x_Tarazed/20.0/tiki-20.0.zip
--2019-07-20 02:16:48--  https://liquidtelecom.dl.sourceforge.net/project/tikiwiki/Tiki_20.x_Tarazed/20.0/tiki-20.0.zip
Resolving liquidtelecom.dl.sourceforge.net (liquidtelecom.dl.sourceforge.net)... 197.155.77.8
Connecting to liquidtelecom.dl.sourceforge.net (liquidtelecom.dl.sourceforge.net)|197.155.77.8|:443... connected.
HTTP request sent, awaiting response... 200 OK
Length: 94683710 (90M) [application/octet-stream]
Saving to: ‘tiki-20.0.zip’

tiki-20.0.zip               100%[==========================================>]  90.30M   989KB/s    in 1m 50s

2019-07-20 02:18:39 (840 KB/s) - ‘tiki-20.0.zip’ saved [94683710/94683710]
Once the download is completed extract the downloaded package using unzip command.
root@linuxhelp:~# unzip tiki-20.0.zip
Archive:  tiki-20.0.zip
   creating: tiki-20.0/
  inflating: tiki-20.0/tiki-register_site.php
  inflating: tiki-20.0/tiki-admin_forums.php
  inflating: tiki-20.0/tiki-index_p.php
  inflating: tiki-20.0/tiki-admin_newsletter_subscriptions.php
  inflating: tiki-20.0/tiki-create_webhelp.php
  inflating: tiki-20.0/tiki-blogs_rss.php
  inflating: tiki-20.0/tiki-list_submissions.php
.
.
.
 inflating: tiki-20.0/installer/composer-patches/adodb-php__remove-the-check-if-the-adodb-php_ext-is-enabled.patch
  inflating: tiki-20.0/installer/index.php
  inflating: tiki-20.0/installer/.htaccess
  inflating: tiki-20.0/installer/tiki-installer.php
  inflating: tiki-20.0/installer/web.config
Move the Tiki Wiki cms directory to apache root directory
root@linuxhelp:~# mv tiki-20.0 /var/www/tiki
Set the ownership and permission for Tiki Wiki CMS by using the following command.
root@linuxhelp:~# chown -R www-data.www-data /var/www/tiki
root@linuxhelp:~# chmod -R 755 /var/www/tiki
Configure the virtualhost for accessing the Tiki Wiki CMS.
root@linuxhelp:~# vim /etc/apache2/sites-available/tiki.conf
<Virtualhost *:80>
        Servername www.linuxhelp1.com
        Documentroot /var/www/tiki
<directory /var/www/tiki>
allowoverride all
allow from all
</directory>
</Virtualhost>
Disable the default site access.
root@linuxhelp:~# a2dissite 000-default.conf
Site 000-default disabled.
To activate the new configuration, you need to run:
systemctl reload apache2
Enable the site access for accessing the Tiki Wiki CMS.
root@linuxhelp:~# a2ensite tiki.conf
Enabling site tiki.
To activate the new configuration, you need to run:
systemctl reload apache2
Enable the rewrite module.
root@linuxhelp:~# a2enmod rewrite
Enabling module rewrite.
To activate the new configuration, you need to run:
systemctl restart apache2
Restart the apache service by using the following command.
root@linuxhelp:~# systemctl restart apache2
Switch to your browser and enter the domain name.
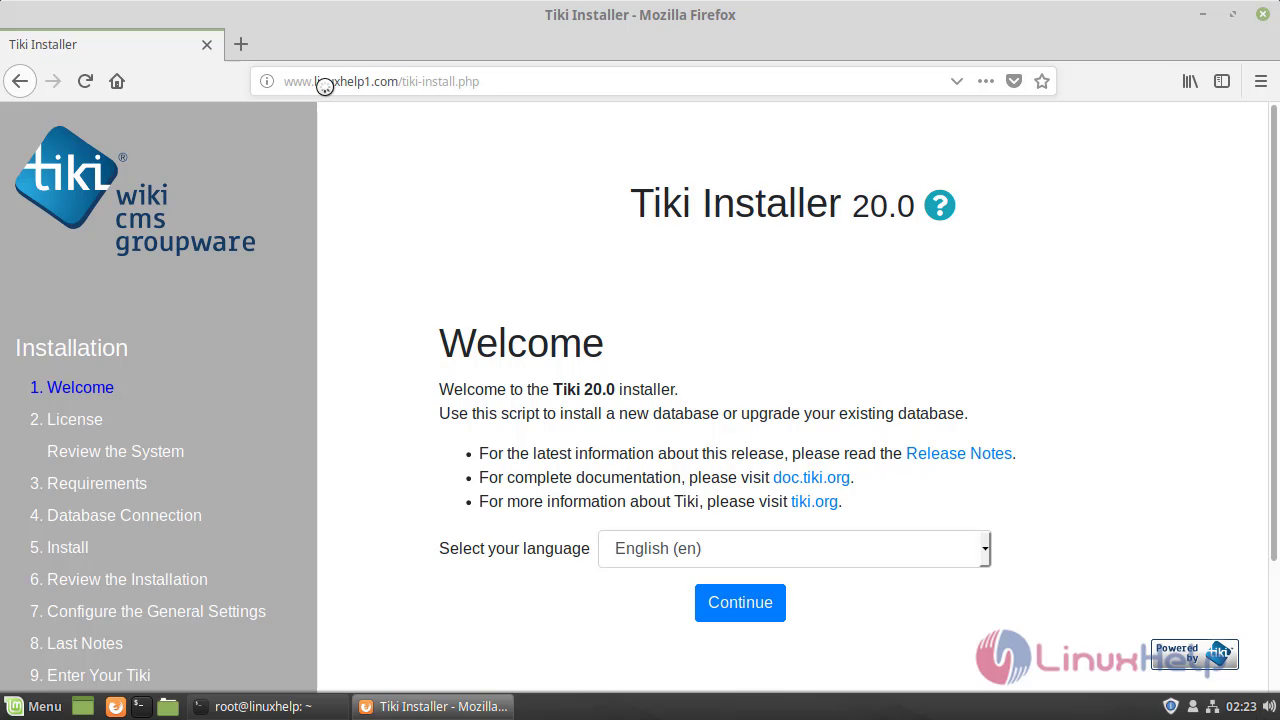
 Welcome document of Tiki wiki CMS and select the required language.
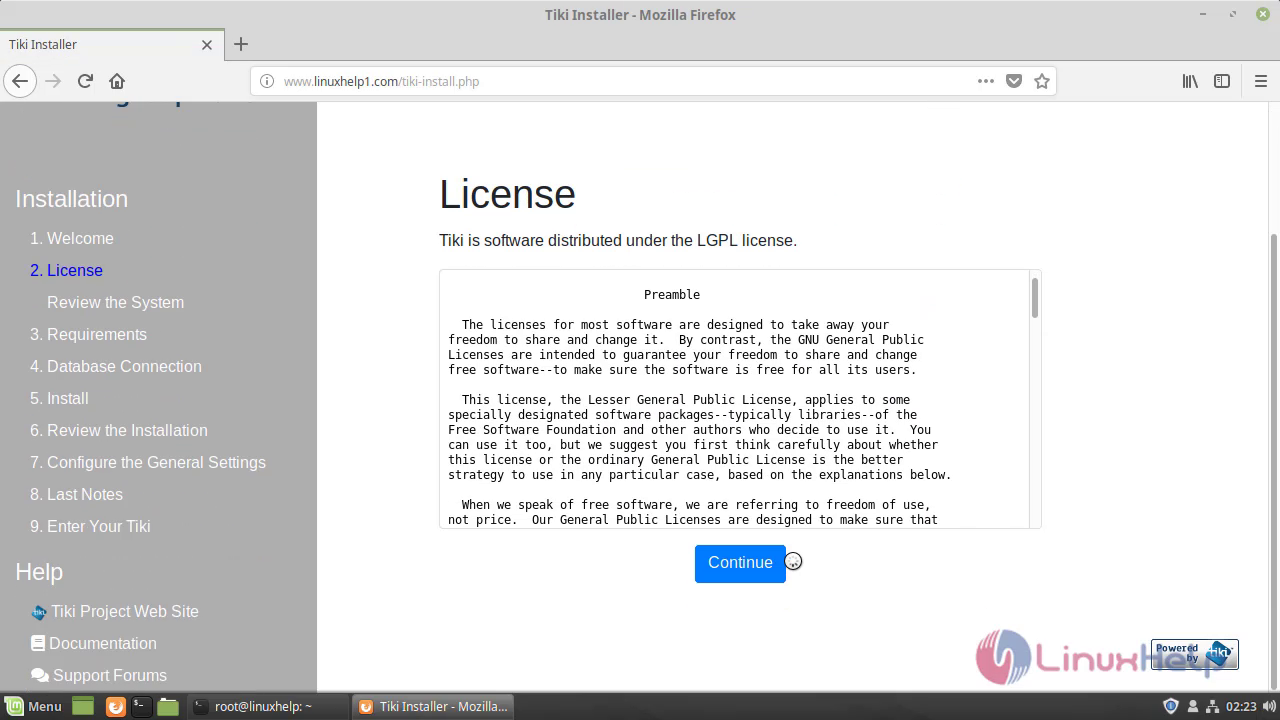
 Accept the license agreement.
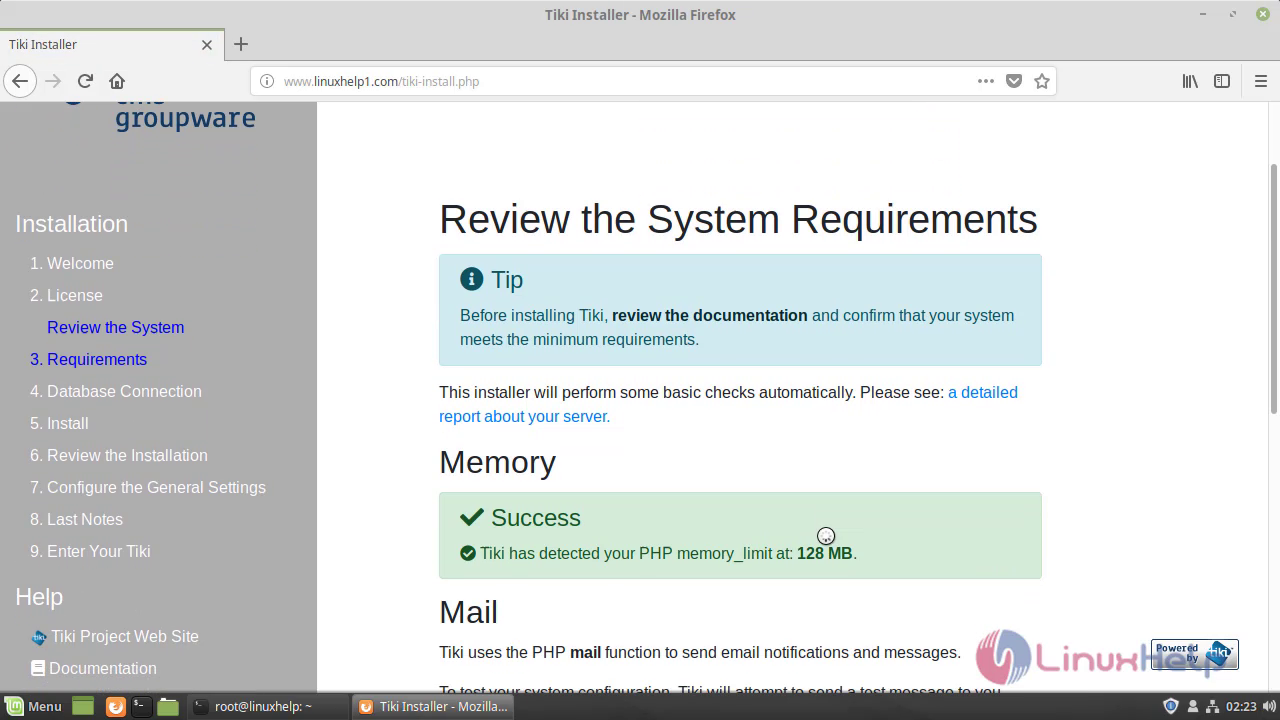
 Verify the requirements.
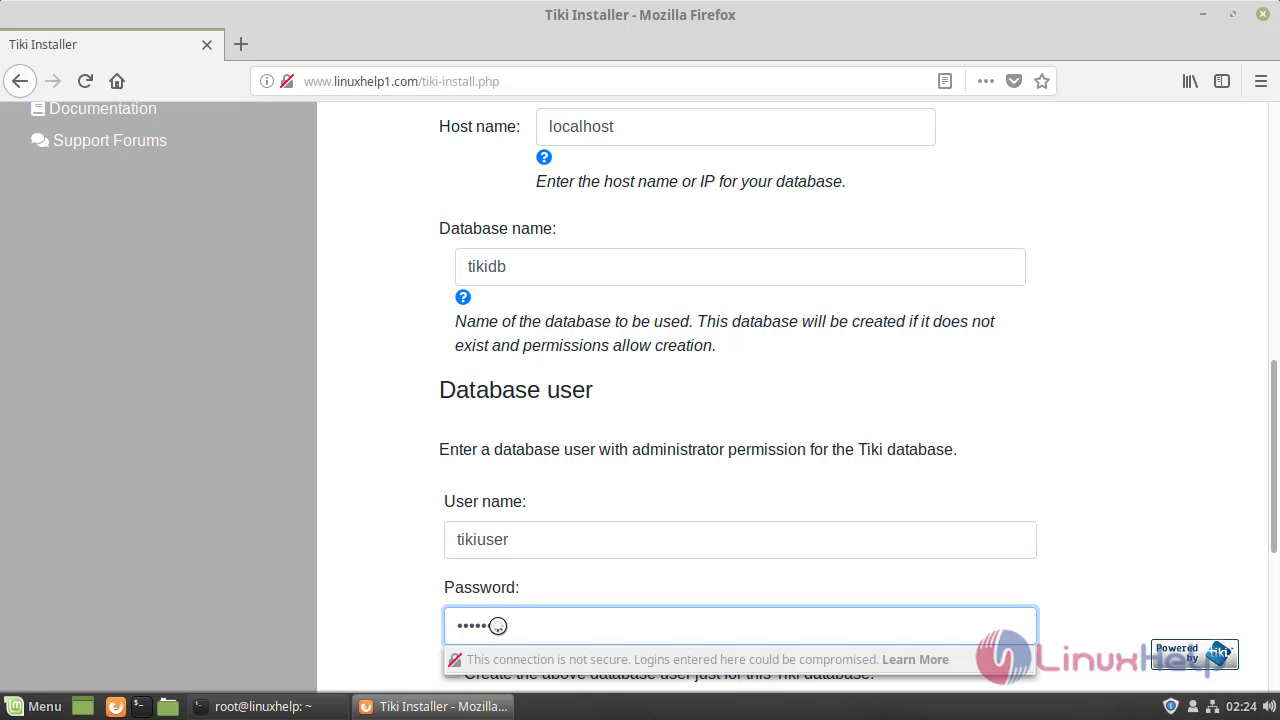
 Configure the database detail
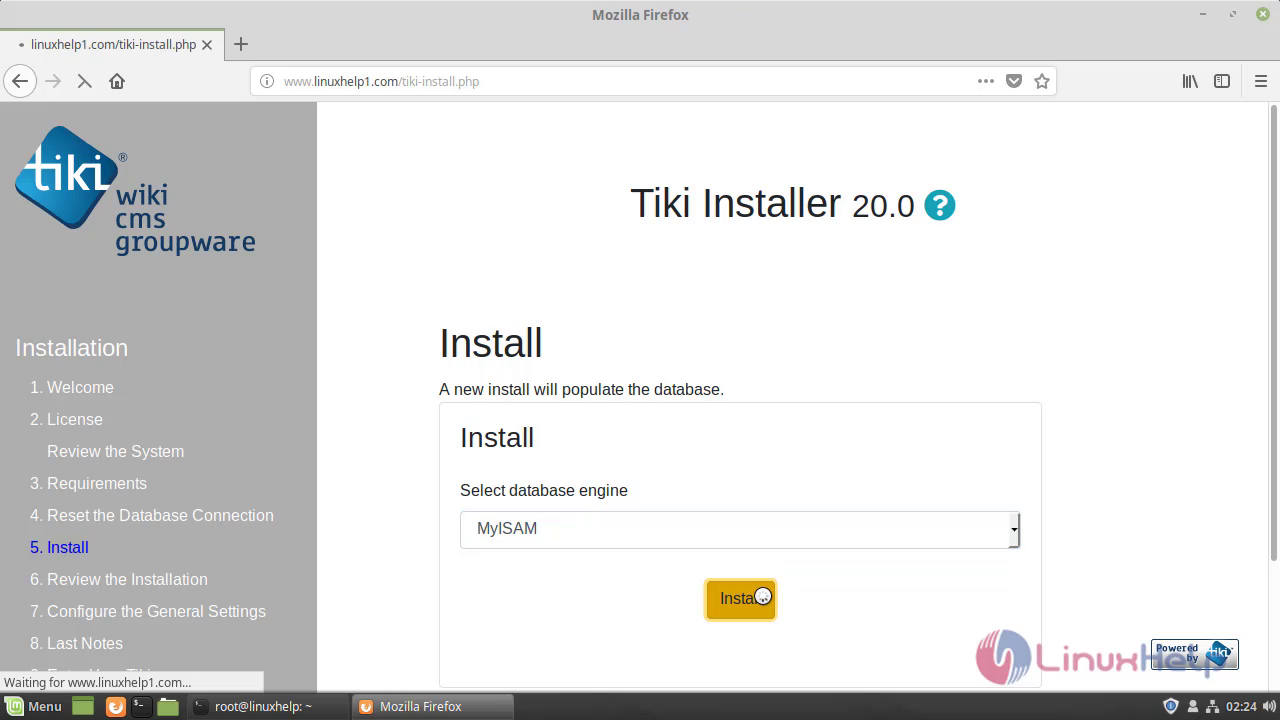
 And then choose the database type to proceed with the installation.
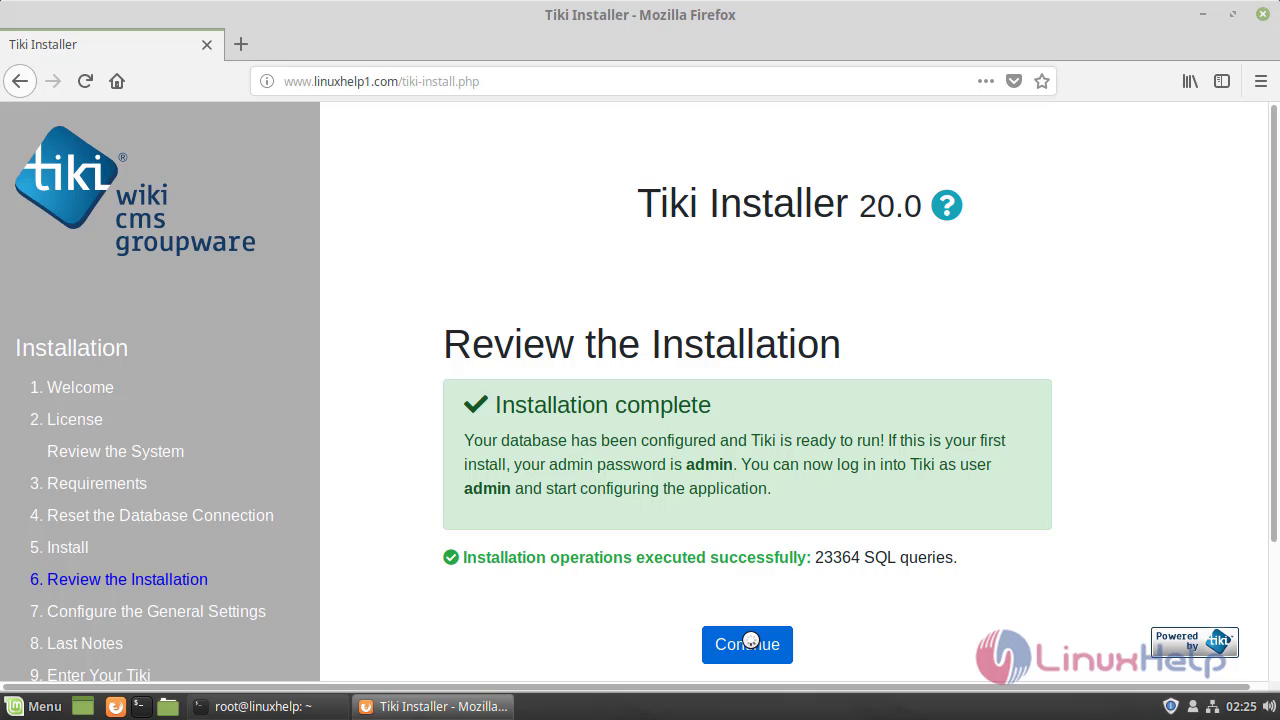
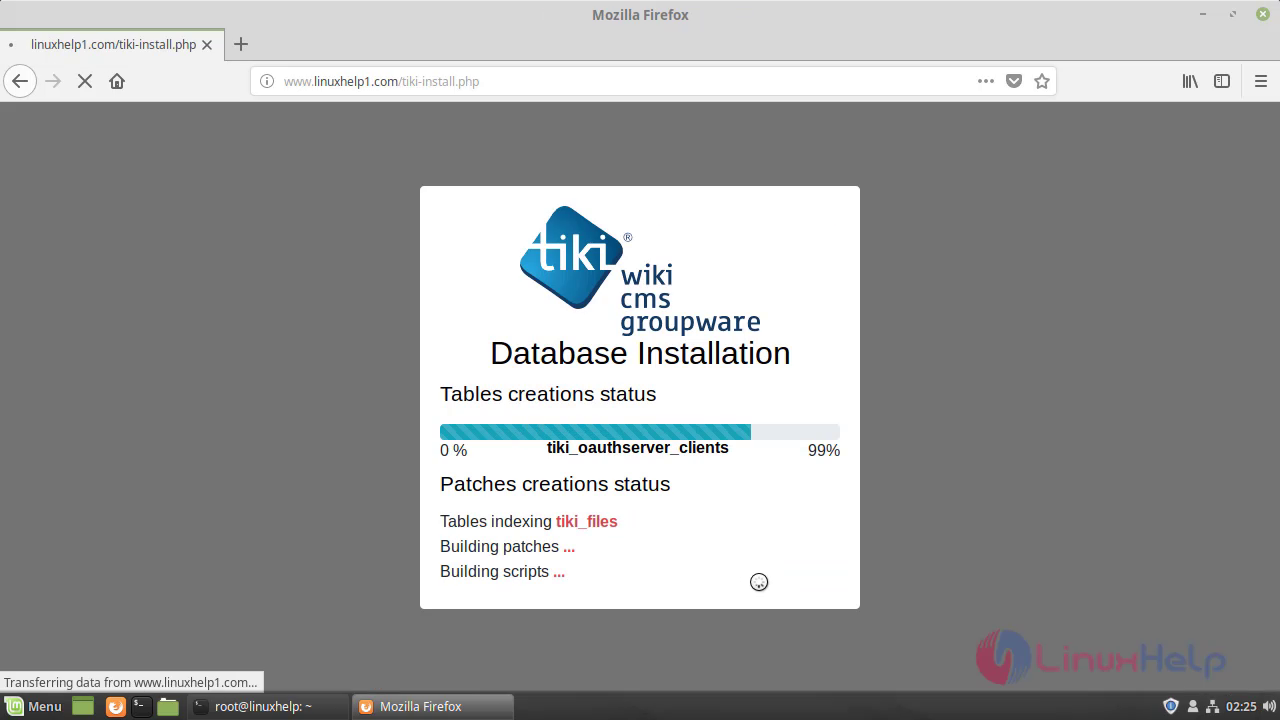 After the installation is completed you will see the following page as shown below.
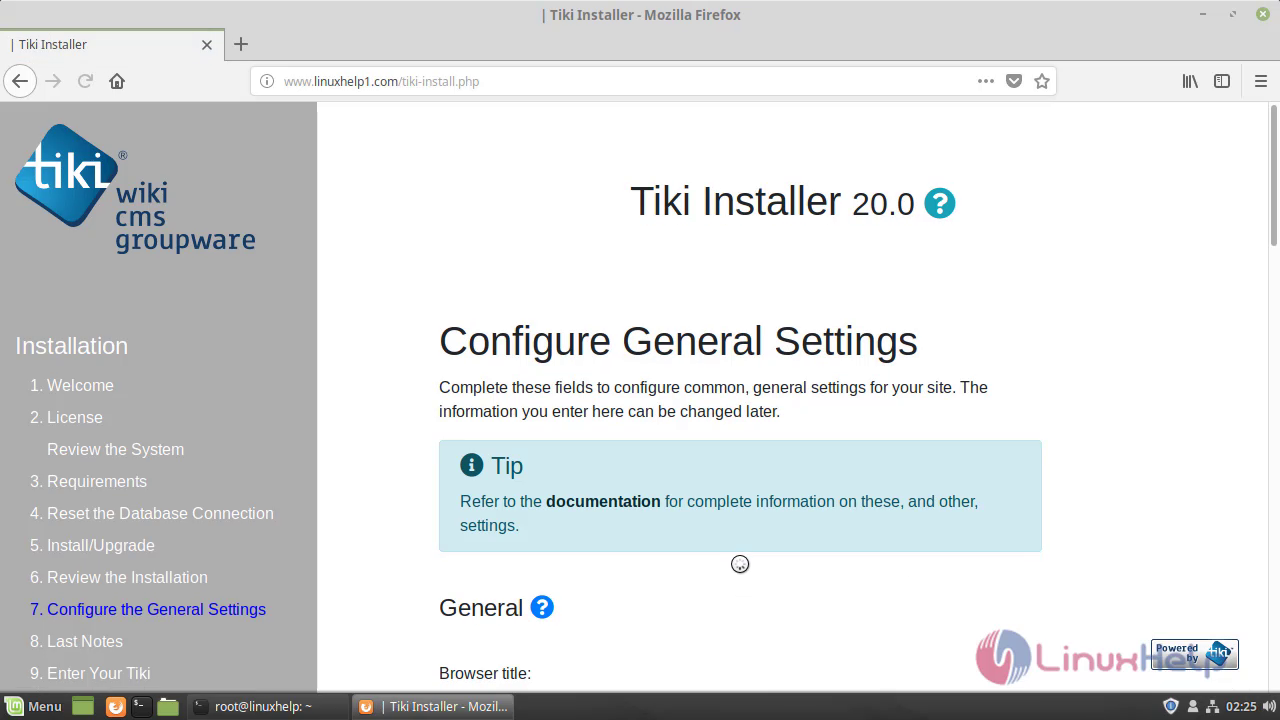
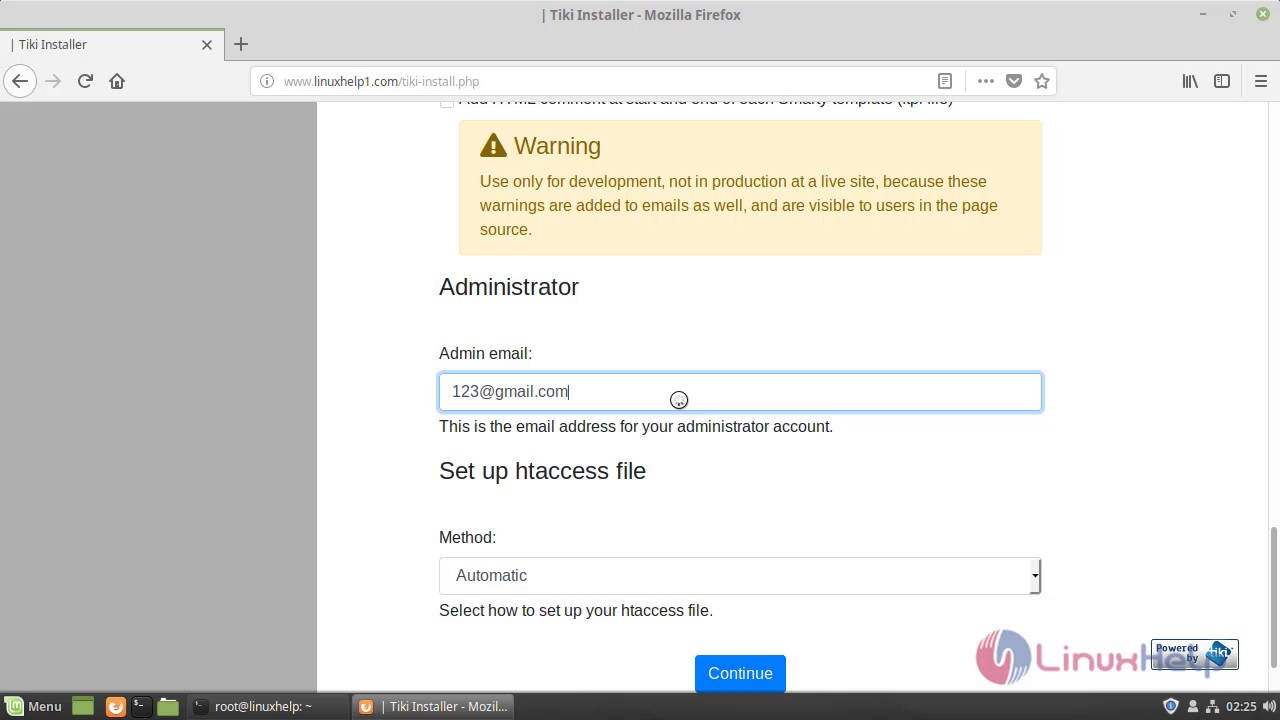
 Next, configure the site information and Admin user credential setup.
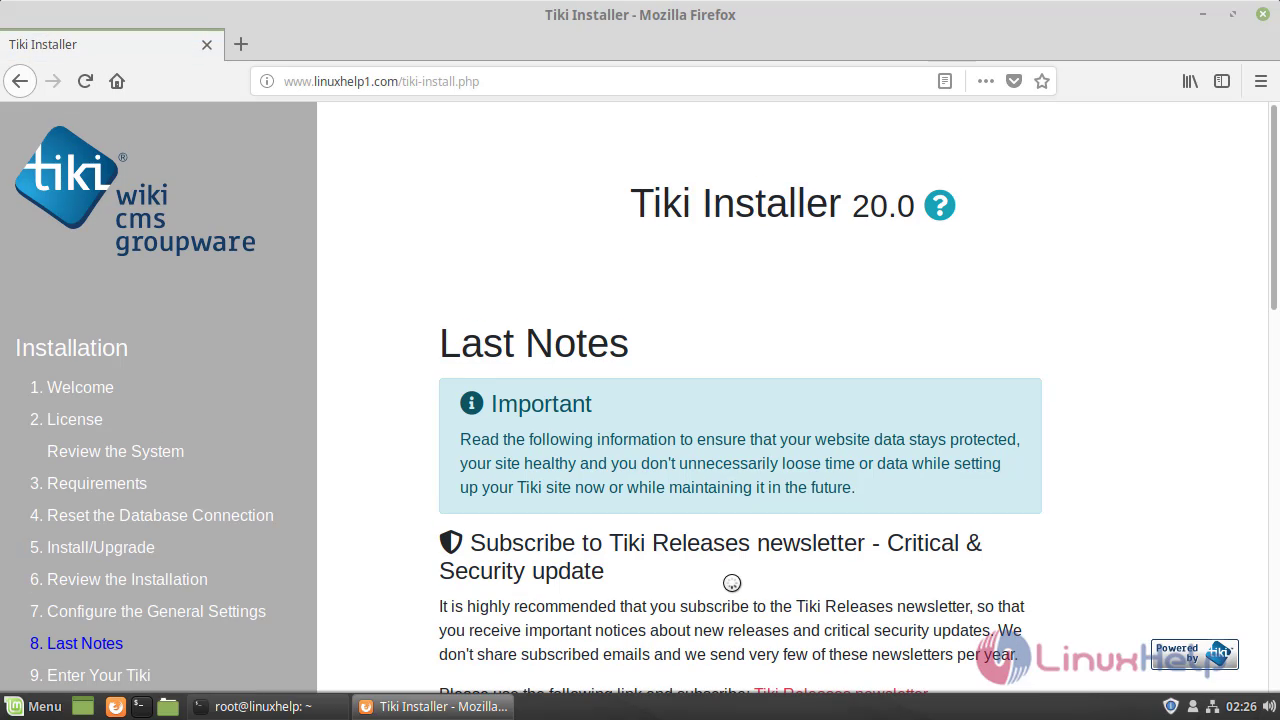
 You will see that last note of Tiki Wiki CMS.
After all the configuration setup is done, you will see the following page, proceed further.
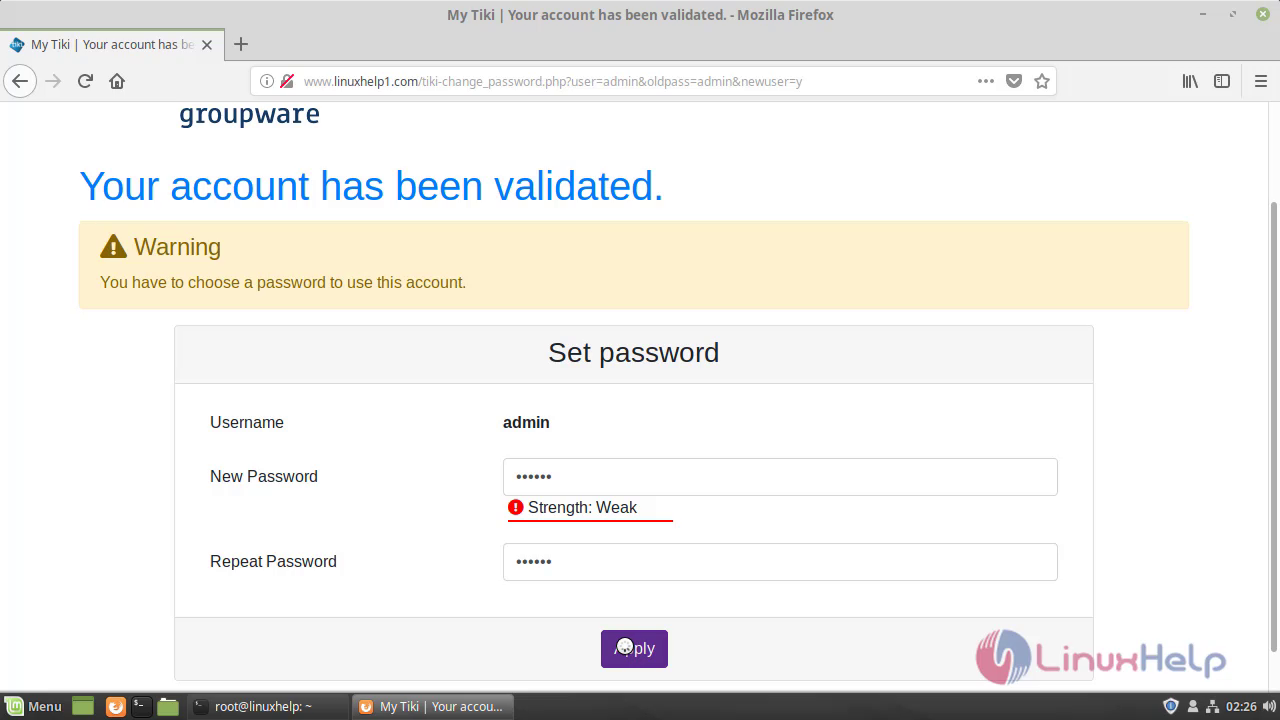
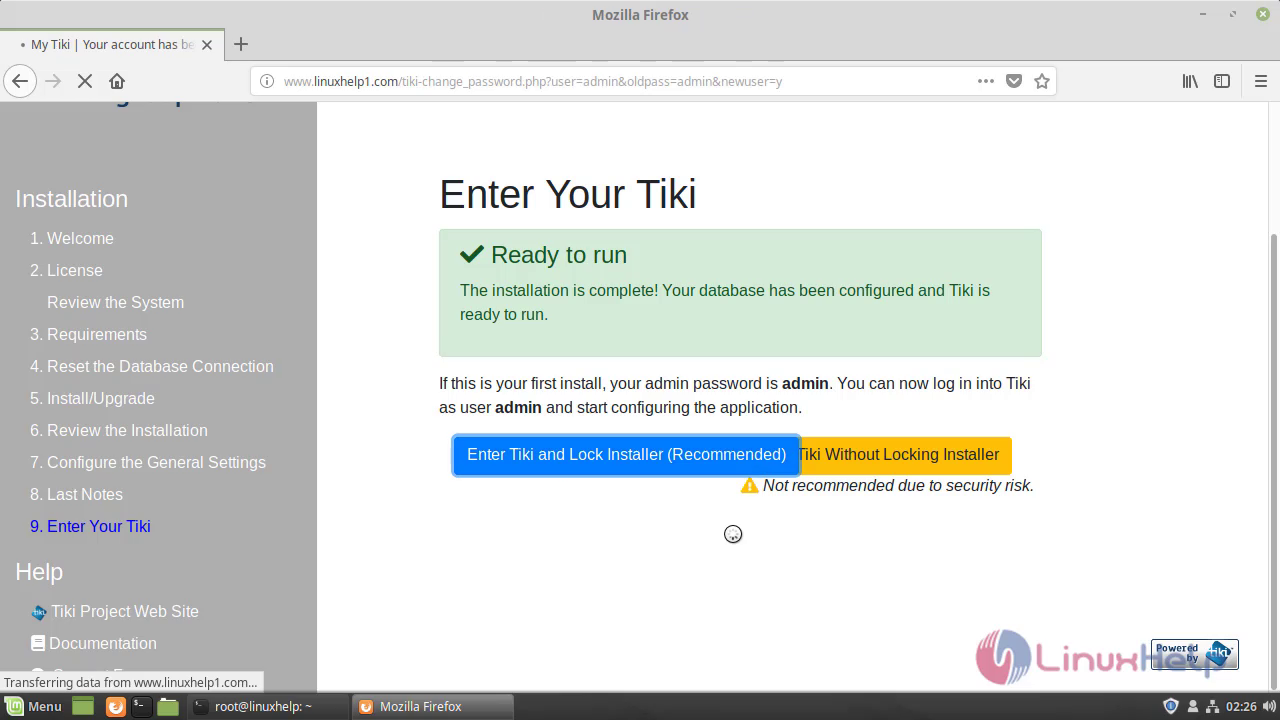 Create your admin password after the installation complete and login into Tiki Wiki CMS.
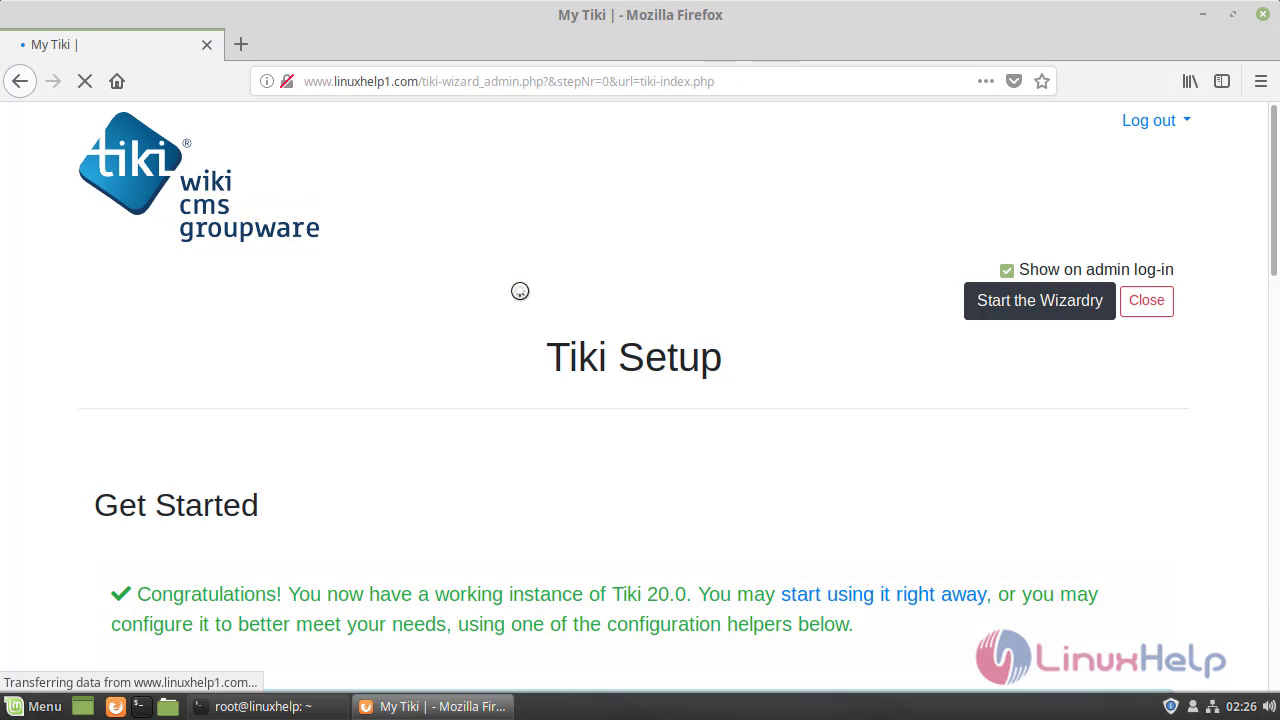
 After verifying all the configuration setup you can start the Tiki Wiki CMS.
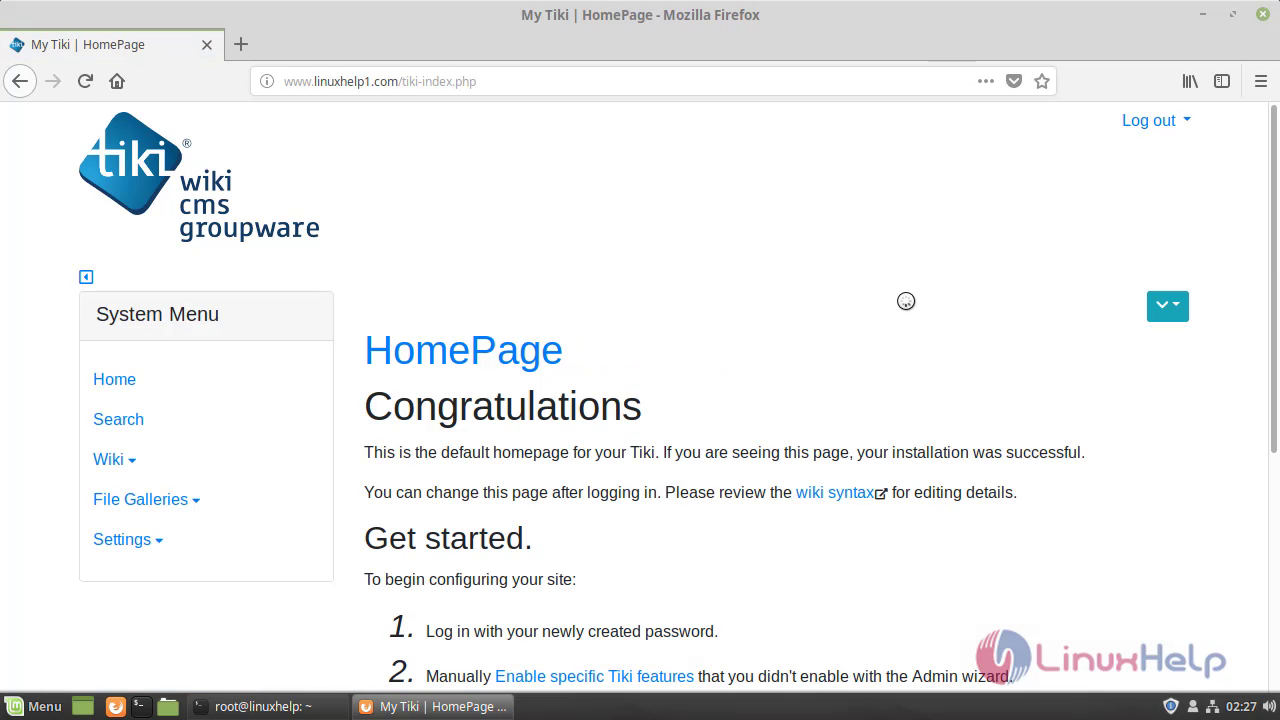
 This is the dashboard of Tiki Wiki CMS.
 With this, this tutorial on the method to install Tiki Wiki CMS on Linuxmint 19 comes to an end.
Comments ( 0 )
No comments available