How to install KVM on Debian 11.3
- 00:34 lsb_release -a
- 00:41 sudo apt-get update
- 01:05 sudo apt install qemu-kvm libvirt-daemon-system libvirt-clients bridge-utils
- 01:40 sudo adduser linux1
- 02:06 sudo adduser linux1 libvirt
- 02:34 sudo adduser linux1 kvm
- 02:50 virsh list --all
- 03:13 sudo systemctl status libvirtd
- 03:32 sudo systemctl enable --now libvirtd
- 03:58 sudo apt install virt-manager
- 04:28 sudo virt-manager
To Install Kernel-based Virtual Machine on Debian 11.3
Introduction:
KVM is an open-source virtualization technology that changes the Linux kernel into a hypervisor that can be used for virtualization and is an alternative to proprietary virtualization technologies, such as those offered by VMware.
Step 1: Check the OS Version by using the below command
[root@linuxhelp: ~#] lsb_release -a
No LSB modules are available.
Distributor ID:	Debian
Description:	Debian GNU/Linux 11 (bullseye)
Release:	11
Codename:	bullseye
Step 2: Next, update the system package by using the below command
[root@linuxhelp: ~#] sudo apt-get update
Get:1 http://deb.debian.org/debian bullseye InRelease [116 kB]
Get:2 http://security.debian.org/debian-security bullseye-security InRelease [48.4 kB]
Get:3 http://deb.debian.org/debian bullseye-updates InRelease [44.1 kB]
Get:4 http://deb.debian.org/debian bullseye/main Sources [8,633 kB]
Get:5 http://security.debian.org/debian-security bullseye-security/main Sources [158 kB]
Get:6 http://security.debian.org/debian-security bullseye-security/main amd64 Packages [186 kB]
Get:7 http://security.debian.org/debian-security bullseye-security/main Translation-en [117 kB]
Get:8 http://deb.debian.org/debian bullseye-updates/main Sources.diff/Index [11.7 kB]
Get:9 http://deb.debian.org/debian bullseye-updates/main amd64 Packages.diff/Index [11.7 kB]
-2032.44.pdiff [286 B]
Fetched 923 kB in 1s (945 kB/s)
Reading package lists... Done
Building dependency tree... Done
Reading state information... Done
Step 3: Then, install essential KVM packages by using the below command
[root@linuxhelp: ~#] sudo apt install qemu-kvm libvirt-daemon-system libvirt-clients bridge-utils
Reading package lists... Done
Building dependency tree... Done
Reading state information... Done

Note, selecting 'qemu-system-x86' instead of 'qemu-kvm'
The following additional packages will be installed:
  augeas-lenses dmeventd ibverbs-providers ipxe-qemu jq libaio1 libaugeas0 libcacard0 libcapstone4 libdaxctl1 libdevmapper-event1.02.1 libexecs0 libfdt1 libibverbs1 libjq1 liblvm2cmd2.03 libndctl6 libnetcf1 libnss-mymachines
  libnss-systemd libonig5 libpam-systemd libpmem1 librdmacm1 libslirp0 libspice-server1 libsystemd0 liburing1 libusbredirparser1 libvdeplug2 libvirglrenderer1 libvirt-daemon libvirt-daemon-config-network
  libvirt-daemon-config-nwfilter libvirt-daemon-driver-lxc libvirt-daemon-driver-qemu libvirt-daemon-driver-vbox libvirt-daemon-driver-xen libvirt-daemon-system-systemd libvirt0 libxencall1 libxendevicemodel1 libxenevtchn1
  libxenforeignmemory1 libxengnttab1 libxenhypfs1 libxenmisc4.14 libxenstore3.0 libxentoolcore1 libxentoollog1 libxml2-utils lvm2 mdevctl netcat-openbsd ovmf qemu-system-common qemu-system-data qemu-system-gui qemu-utils seabios
  systemd systemd-container systemd-timesyncd thin-provisioning-tools
Suggested packages:
  augeas-doc augeas-tools libvirt-login-shell libvirt-daemon-driver-storage-gluster libvirt-daemon-driver-storage-iscsi-direct libvirt-daemon-driver-storage-rbd libvirt-daemon-driver-storage-zfs numad auditd nfs-common open-iscsi
  pm-utils radvd systemtap zfsutils samba vde2 qemu-block-extra debootstrap
The following NEW packages will be installed.
Step 4: Next create and add the user in libvirt and Kvm group by using the below command
[root@linuxhelp: ~#] sudo adduser linux1
[root@linuxhelp: ~#] sudo adduser linux1 libvirt
Adding user `linux1' to group `libvirt' ...
Adding user linux1 to group libvirt
Done.

[root@linuxhelp: ~#] sudo adduser linux1 kvm
Adding user `linux1' to group `kvm' ...
Adding user linux1 to group kvm
Done.
Step 5: Confirm the installation was successful by using the virsh command
[root@linuxhelp: ~#] sudo virsh list --all
Id   Name   State
--------------------
Step 6: Next check the status from the libvirt, then enable the libvirt by using the below command
[root@linuxhelp: ~#] sudo systemctl status libvirtd
● libvirtd.service - Virtualization daemon
     Loaded: loaded (/lib/systemd/system/libvirtd.service; enabled; vendor preset: enabled)
     Active: active (running) since Mon 2022-11-14 01:33:36 IST; 4min 35s ago
TriggeredBy: ● libvirtd-ro.socket
             ● libvirtd-admin.socket
             ● libvirtd.socket
       Docs: man:libvirtd(8)
             https://libvirt.org
   Main PID: 5955 (libvirtd)
      Tasks: 19 (limit: 32768)
     Memory: 13.8M
        CPU: 275ms
     CGroup: /system.slice/libvirtd.service
             └─5955 /usr/sbin/libvirtd

Nov 14 01:33:36 linuxhelp systemd[1]: Starting Virtualization daemon...
Nov 14 01:33:36 linuxhelp systemd[1]: Started Virtualization daemon.


[root@linuxhelp: ~#] sudo systemctl enable --now libvirtd
Step 7: Now create the virtual machine manager by using the below command
[root@linuxhelp: ~#] sudo apt install virt-manager
Reading package lists... Done
Building dependency tree... Done
Reading state information... Done
The following additional packages will be installed:
  genisoimage gir1.2-ayatanaappindicator3-0.1 gir1.2-gtk-vnc-2.0 gir1.2-libosinfo-1.0 gir1.2-libvirt-glib-1.0 gir1.2-spiceclientglib-2.0 gir1.2-spiceclientgtk-3.0 libgovirt-common libgovirt2 libgtk-vnc-2.0-0 libgvnc-1.0-0
  libphodav-2.0-0 libphodav-2.0-common libspice-client-glib-2.0-8 libspice-client-gtk-3.0-5 libusbredirhost1 libvirt-glib-1.0-0 python3-libvirt python3-libxml2 spice-client-glib-usb-acl-helper virt-viewer virtinst


0 upgraded, 23 newly installed, 0 to remove and 126 not upgraded.
Need to get 3,479 kB of archives.
After this operation, 16.0 MB of additional disk space will be used.
Do you want to continue? [Y/n] y
Get:1 http://security.debian.org/debian-security bullseye-security/main amd64 python3-libxml2 amd64 2.9.10+dfsg-6.7+deb11u3 [197 kB]
Get:2 http://deb.debian.org/debian bullseye/main amd64 genisoimage amd64 9:1.1.11-3.2 [380 kB]
Get:3 http://deb.debian.org/debian bullseye/main amd64 gir1.2-ayatanaappindicator3-0.1 amd64 0.5.5-2+deb11u2 [71.3 kB].
Step 8: Now start the virtual machine manager by using the below command
[root@linuxhelp: ~#] sudo virt-manager
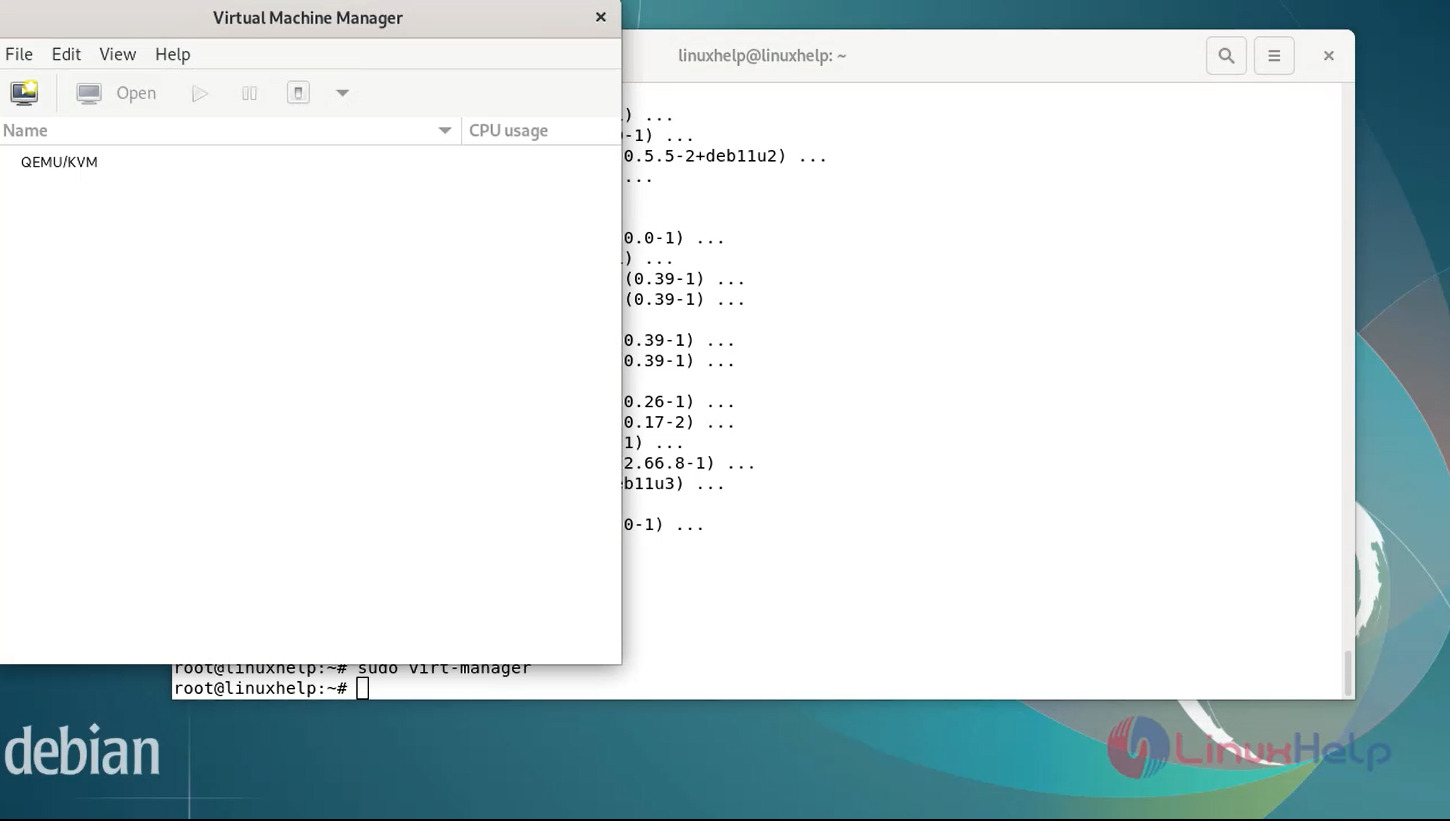
Step 9: In the first window, click the computer icon in the upper-left corner as shown in the below image.

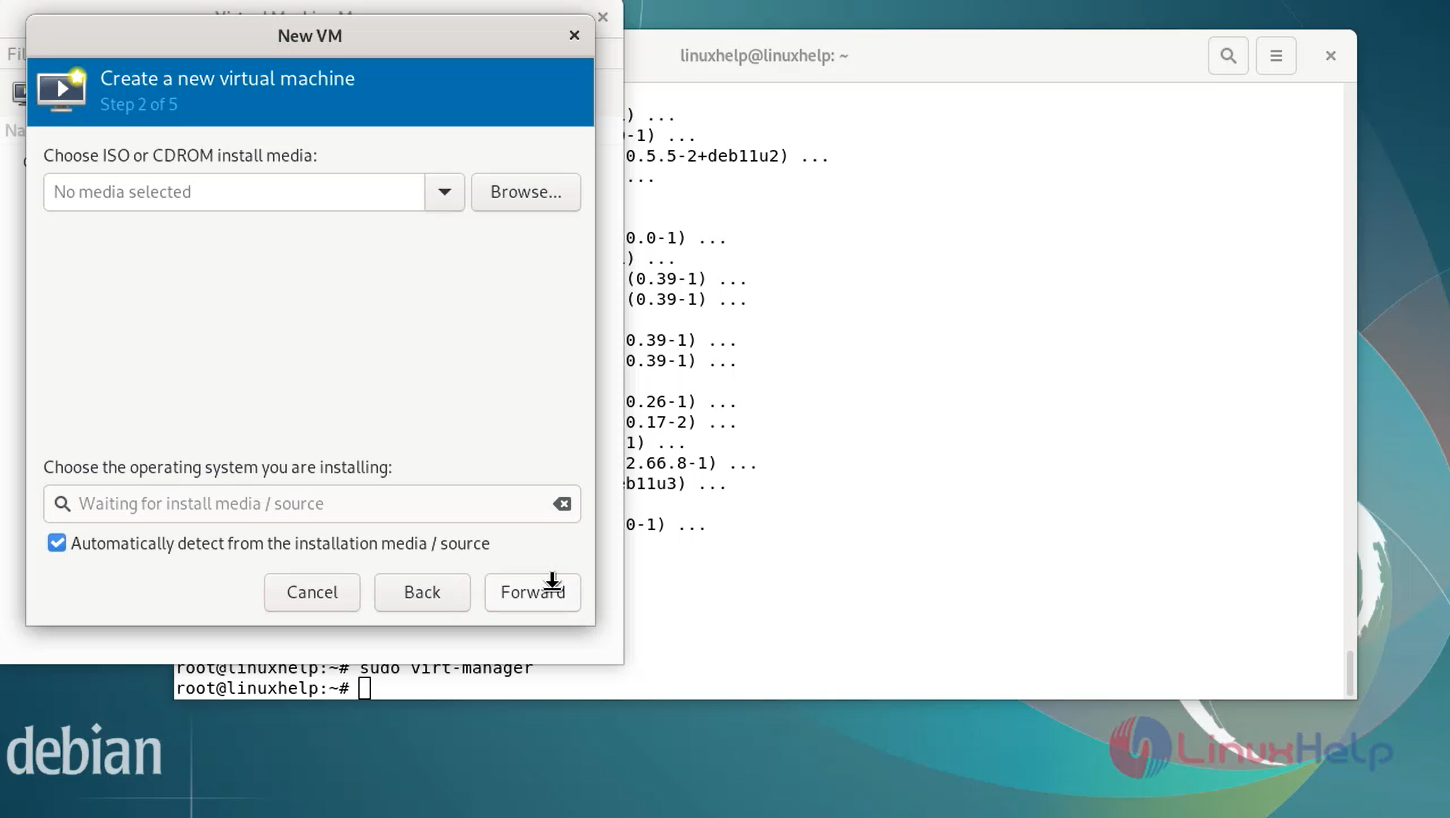
Step 10: In the dialogue box that opens, select the option to install the VM using an ISO image. Then click Forward as shown in the below image.
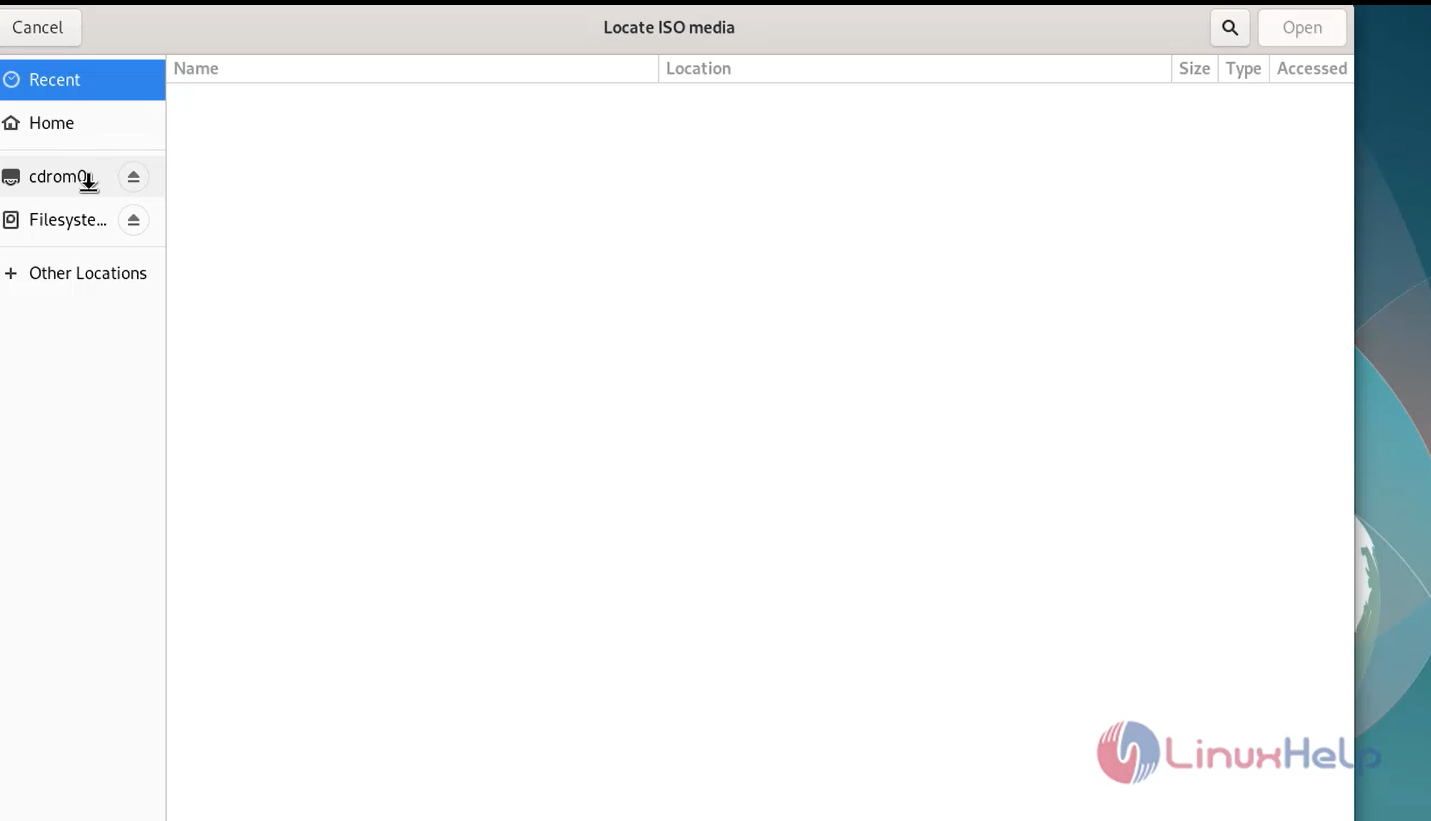
Step 11: In the next dialogue, click Browse Local and navigate to the path where you stored the ISO you wish to install as shown in the below image.
Step 12: After that you can choice Ram details, CPU details and allocate hard disk space to the VM then finally click Finish to complete the setup.
Conclusion:
We have reached the end of this article. In this guide, we have walked you through the steps required to install KVM on Debian 11.3. Your feedback is much welcome.
Comments ( 0 )
No comments available