How to install GLPI Asset management on CentOS 7 using LEMP
To install GLPI Asset management on CentOS 7 using LEMP
GLPI is an open-source for Information Resource-Manager with an additional Administration-Interface. It is used to build up a database with an inventory devices such as computer, software, and printers, etc. It has enhanced functions like a job-tracking-system with mail-notification and methods to build a database with basic information about the specified network-topology. This tutorial covers the installation procedure of GLPI Asset Management on CentOS 7 using LEMP.
Pre- Requisite
LEMP Stack
- Nginx
- MariaDB
- PHP 7
To install PHP in the target system, execute the following commands along with its dependencies.
- rpm -Uvh https://dl.fedoraproject.org/pub/epel/epel-release-latest-7.noarch.rpm
- rpm -Uvh https://mirror.webtatic.com/yum/el7/webtatic-release.rpm
- yum install -y mod_php71w php71w-cli php71w-common php71w-gd php71w-mbstring php71w-mcrypt php71w-mysqlnd php71w-xml php71w-ldap php71w-imap php71w-fileinfo
Installation procedure
To start with the installation procedure, download the GLPI package using wget command followed by the download link.
[root@linuxhelp ~]# wget https://github.com/glpi-project/glpi/releases/download/9.1.3/glpi-9.1.3.tgz
--2017-10-20 10:02:21--  https://github.com/glpi-project/glpi/releases/download/9.1.3/glpi-9.1.3.tgz
Resolving github.com (github.com)... 192.30.255.113, 192.30.255.112
Connecting to github.com (github.com)|192.30.255.113|:443... connected.
HTTP request sent, awaiting response... 302 Found
Location: https://github-production-release-asset-2e65be.s3.amazonaws.com/39182755/c5562782-2c07-11e7-9a66-6e723bb737e6?X-Amz-Algorithm=AWS4-HMAC-SHA256& X-Amz-Credential=AKIAIWNJYAX4CSVEH53A%2F20171020%2Fus-east-1%2Fs3%2Faws4_request& X-Amz-Date=20171020T043258Z& X-Amz-Expires=300& X-Amz-Signature=5cc8e7e918de97eceb267012192af2a2d2756d2caa2e9a86eafaaf65d420d3e5& X-Amz-SignedHeaders=host& actor_id=0& response-content-disposition=attachment%3B%20filename%3Dglpi-9.1.3.tgz& response-content-type=application%2Foctet-stream [following]
--2017-10-20 10:02:22--  https://github-production-release-asset-2e65be.s3.amazonaws.com/39182755/c5562782-2c07-11e7-9a66-6e723bb737e6?X-Amz-Algorithm=AWS4-HMAC-SHA256& X-Amz-Credential=AKIAIWNJYAX4CSVEH53A%2F20171020%2Fus-east-1%2Fs3%2Faws4_request& X-Amz-Date=20171020T043258Z& X-Amz-Expires=300& X-Amz-Signature=5cc8e7e918de97eceb267012192af2a2d2756d2caa2e9a86eafaaf65d420d3e5& X-Amz-SignedHeaders=host.
.
.
.
.
HTTP request sent, awaiting response... 200 OK
Length: 29325987 (28M) [application/octet-stream]
Saving to: ‘ glpi-9.1.3.tgz’

100%[======================================> ] 29,325,987   355KB/s   in 61s

2017-10-20 10:03:24 (472 KB/s) - ‘ glpi-9.1.3.tgz’  saved [29325987/29325987]
Extract the downloaded package by running the tar command.
[root@linuxhelp ~]# tar -xvzf glpi-9.1.3.tgz
glpi/
glpi/vendor/
glpi/vendor/autoload.php
glpi/vendor/zetacomponents/
glpi/vendor/zetacomponents/graph/
glpi/vendor/zetacomponents/graph/.gitmodules
glpi/vendor/zetacomponents/graph/.travis.yml
glpi/vendor/zetacomponents/graph/CREDITS
glpi/vendor/zetacomponents/graph/ChangeLog
glpi/vendor/zetacomponents/graph/DESCRIPTION
glpi/vendor/zetacomponents/graph/NOTICE
glpi/vendor/zetacomponents/graph/README.rst
glpi/vendor/zetacomponents/graph/review.txt
.
.
.
lpi/ajax/autocompletion.php
glpi/README.md
glpi/LISEZMOI.txt
glpi/COPYING.txt
glpi/CHANGELOG.txt
glpi/AUTHORS.txt
glpi/.htaccess
Move the GLPI directory to Nginx root directory and enter into the HTML directory in Nginx and list the files.
[root@linuxhelp ~]# mv glpi /usr/share/nginx/html/
[root@linuxhelp ~]# cd /usr/share/nginx/html/
[root@linuxhelp html]# ll
total 24
-rw-r--r--  1 root root 3650 Sep 18 14:48 404.html
-rw-r--r--  1 root root 3693 Sep 18 14:48 50x.html
drwxrwxr-x 15 1002 1002 4096 Apr 28 15:12 glpi
-rw-r--r--  1 root root 3700 Sep 18 14:48 index.html
-rw-r--r--  1 root root  368 Sep 18 14:48 nginx-logo.png
-rw-r--r--  1 root root 2811 Sep 18 14:48 poweredby.png
Provide the owner permission and file execution permission by executing the following set of commands.
[root@linuxhelp html]# chown -R nginx:nginx /usr/share/nginx/html/
[root@linuxhelp html]# chmod -R 777 /usr/share/nginx/html/
Configure the php-fpm file using vim editor and make the following changes in the file. Save and exit the file.
[root@linuxhelp glpi]# vim /etc/php-fpm.d/www.conf
listen = /run/php-fpm/php-fpm.sock
listen.owner = nginx
listen.group = nginx

user = nginx
group = nginx
Configure the virtual host configuration file named glpi.conf and enter the following content in the file. Save and exit the file.
root@linuxhelp glpi]# vim /etc/nginx/conf.d/glpi.conf
server {
    listen  80
  server_name www.linuxhelp1.com

    location / {
        root  /usr/share/nginx/html
        index  index.html index.htm index.php
    }

    error_page  500 502 503 504  /50x.html
    location = /50x.html {
        root  /usr/share/nginx/html
    }
location ~ \.php {
    fastcgi_index index.php
    fastcgi_split_path_info ^(.+\.php)(.*)$
    include /etc/nginx/fastcgi_params
    fastcgi_pass unix:/run/php-fpm/php-fpm.sock
    fastcgi_param SCRIPT_FILENAME $document_root$fastcgi_script_name
  }

}
Restart the Nginx service.
[root@linuxhelp glpi]# systemctl restart nginx
Switch over to the browser and enter the URL as http://www.linuxhelp1.com/glpi. The installation setup of GLPI appears on the screen. Select the required language.

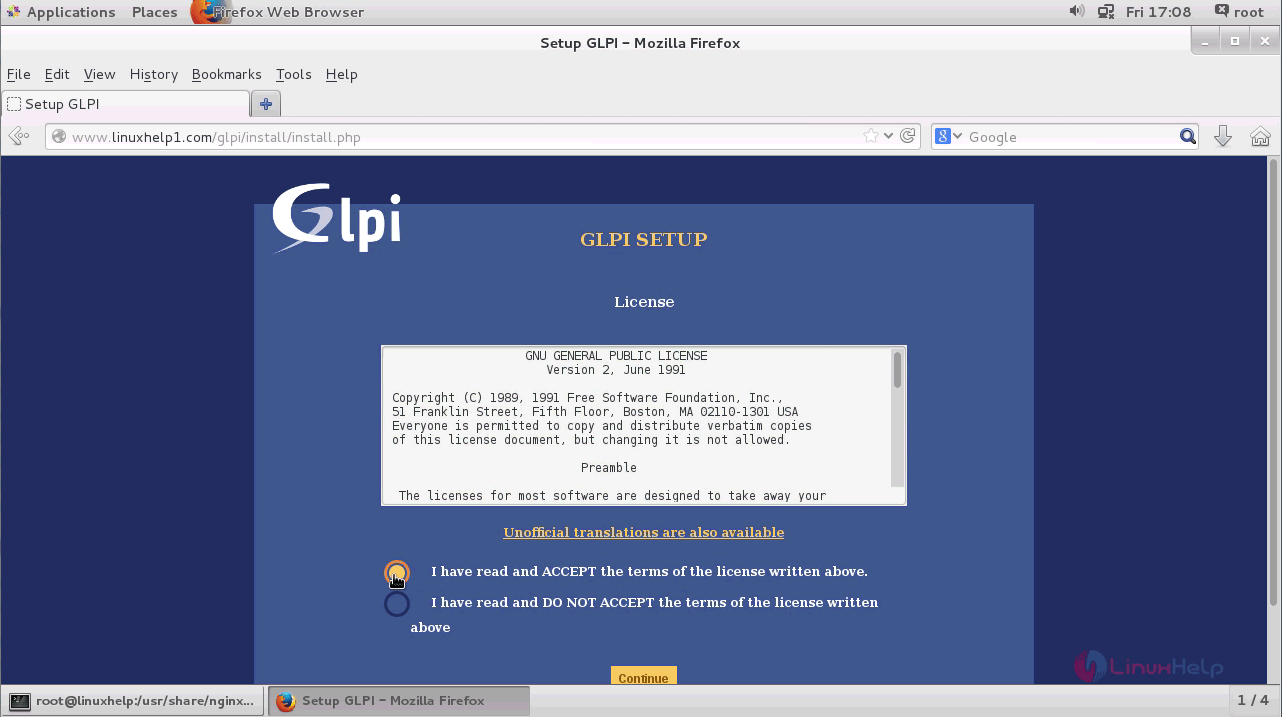
The License Agreement of GLPI is shown to the user and select the " I have read and Accept the terms of the license written above" option and click continue.
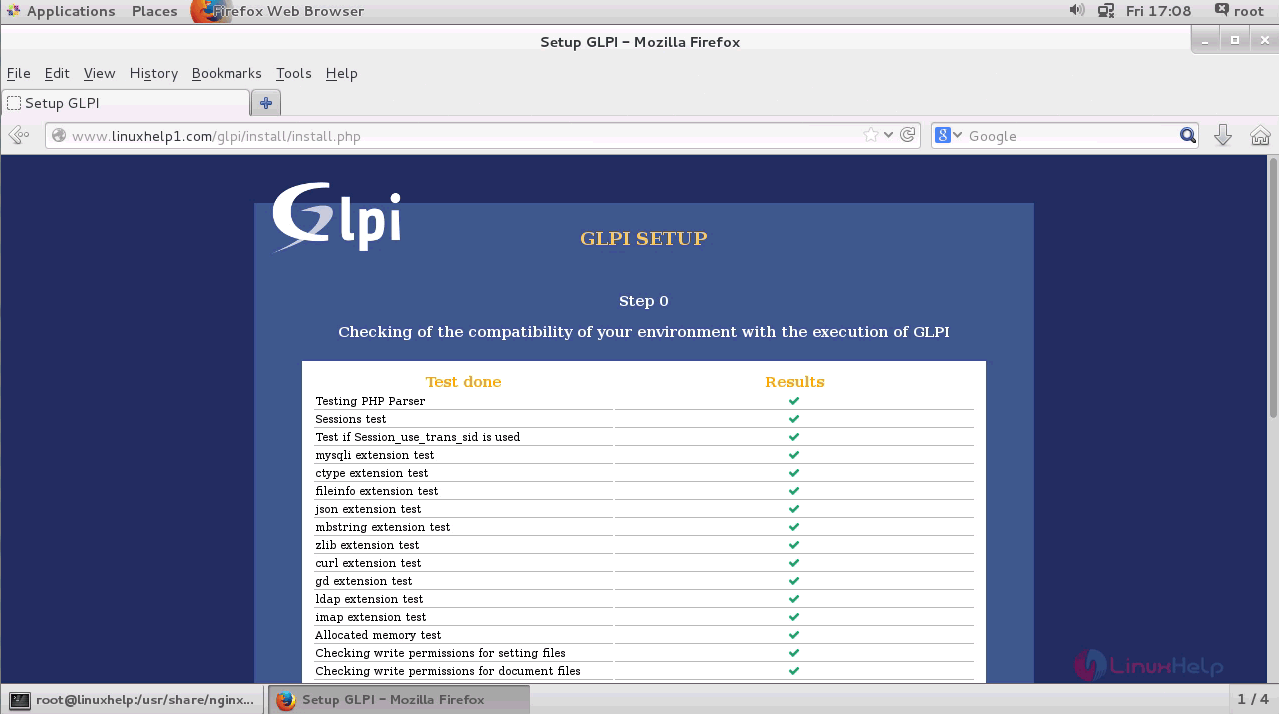
The environment compatability list is shown and if all the tests are done, navigate to next page.
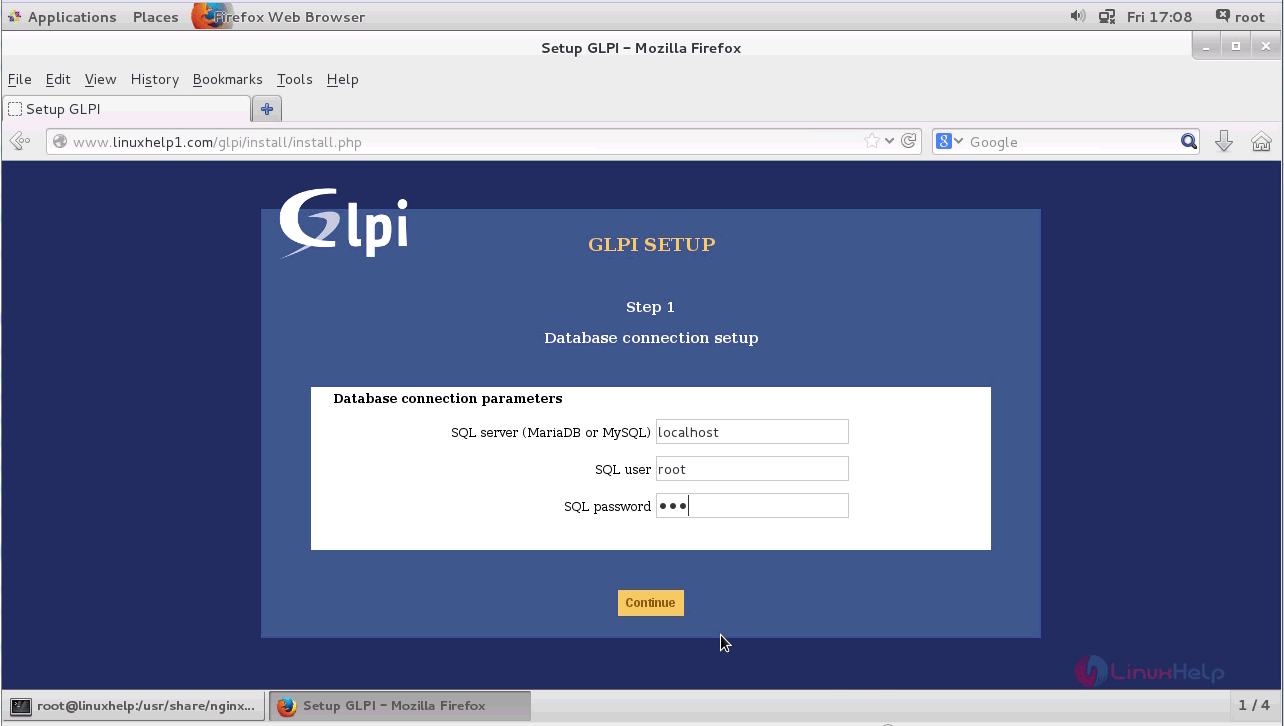
Next enter the database details required for GLPI and click continue.
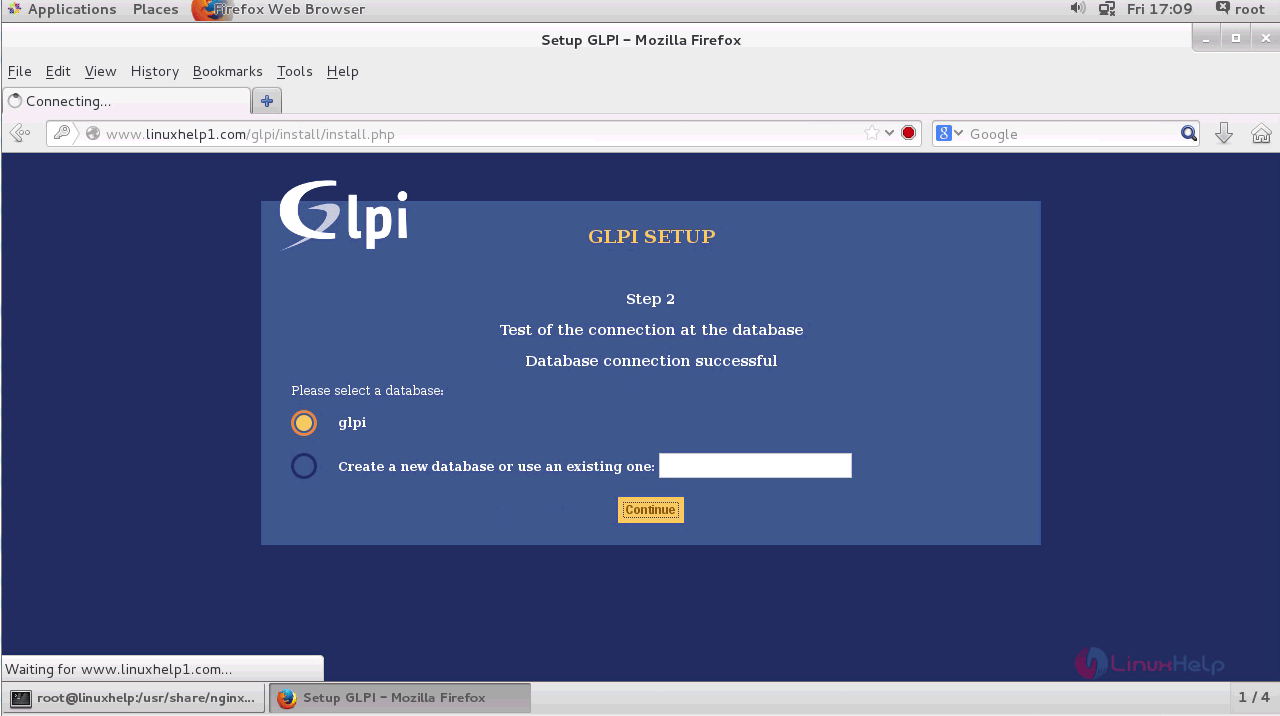
The database connection is successfully done and now select the already created database option and click continue.
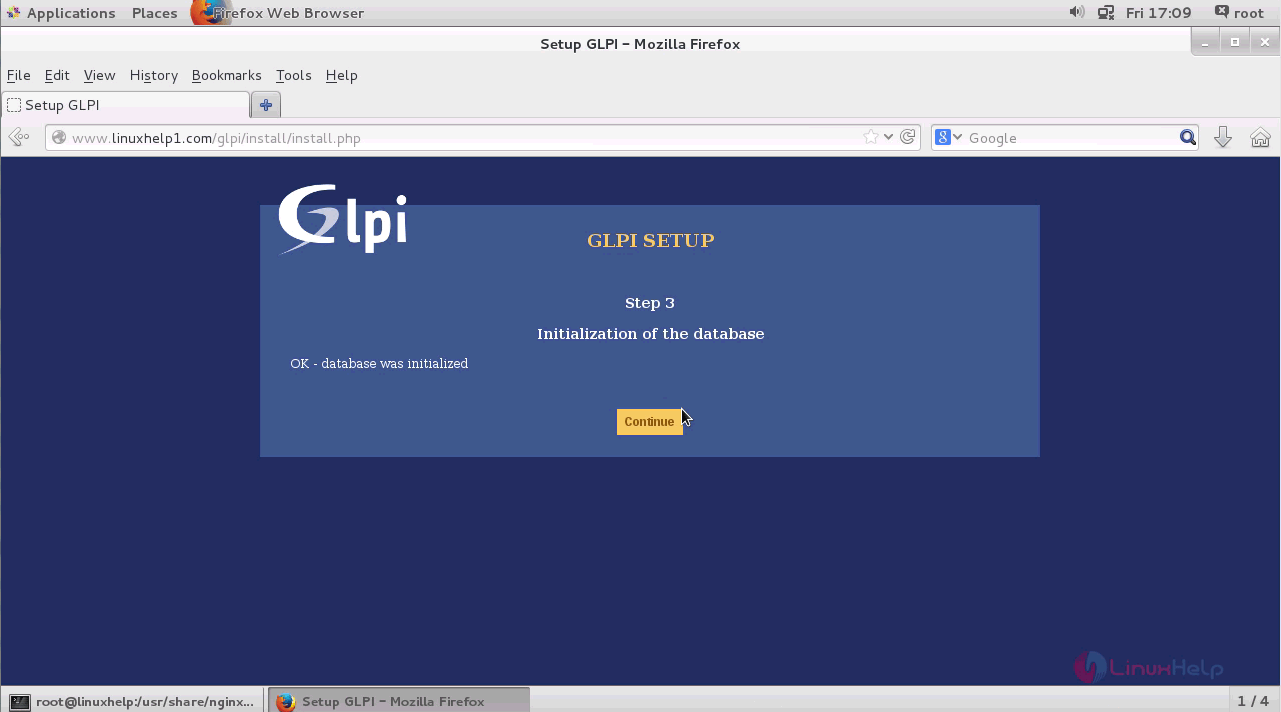
The created database has been initialized and click continue.
The installation process is completed and now the default logins and passwords are displayed to the use. Click Use GLPI option to navigate to login page.

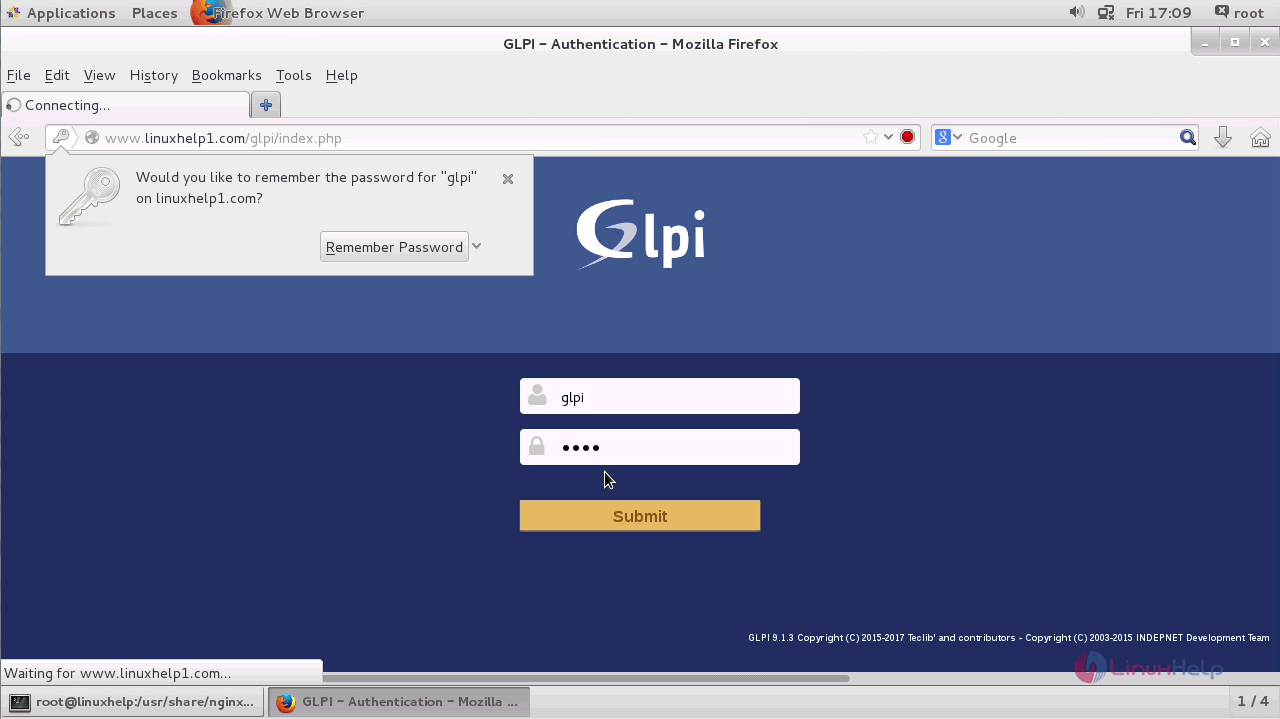
Enter the required login credentials and login to administrator account and click submit option.
Next remove the installation file from GPLI by executing the following command in the terminal.
[root@linuxhelp glpi]# rm &ndash rf install/
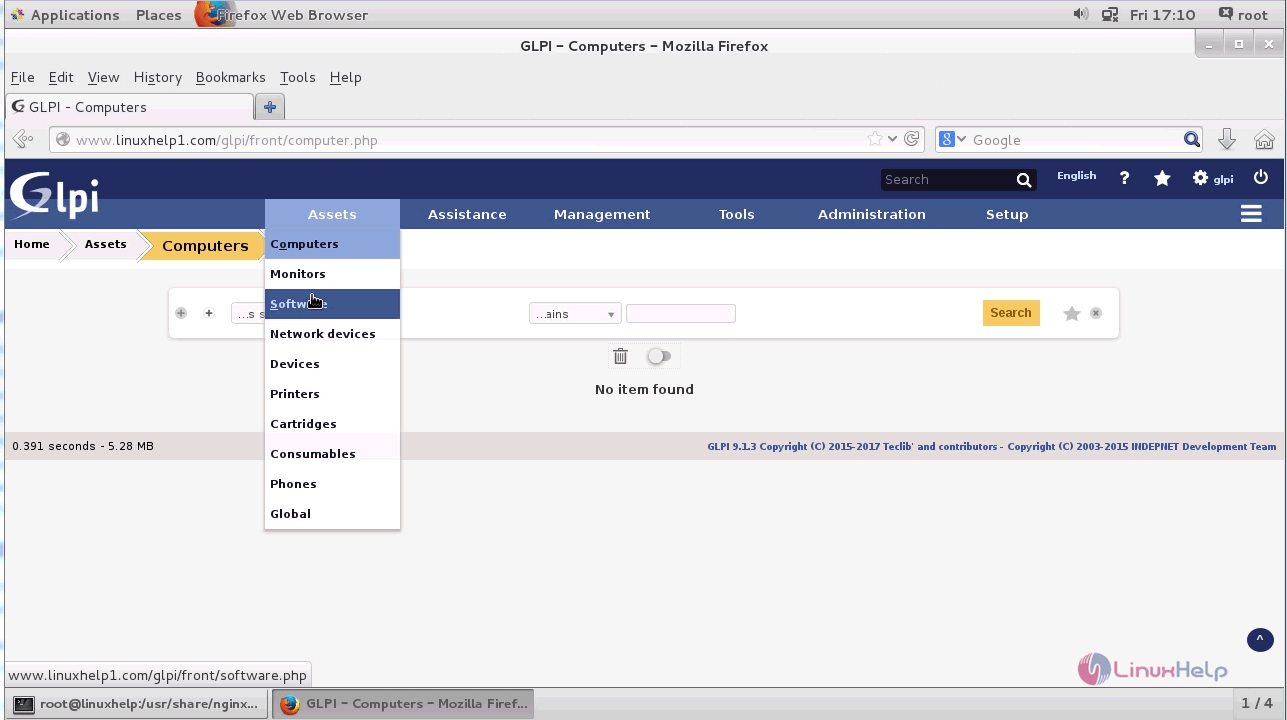
The installation file has been removed and now you can use the dashboard of GLPI.
Thus we conclude the installation procedure of GLPI on CentOS 7 using LEMP.
Comments ( 0 )
No comments available