How to Install 4Images Gallery in Ubuntu
To Install 4Images Gallery in Ubuntu
4images Gallery is a free image gallery management system which is built based on PHP and uses MySQL database to store its data. It supports multiple languages and has several cool features such as automatic image resize and thumbnail generation. The installation of 4images Gallery is very easy and is covered in this article.
To install 4Images Gallery
Before installing 4Images Gallery, make sure your system has LAMP server installed on it. Download the latest version of 4images Gallery from its official web site: http://www.4homepages.de/download-4images.
Once you have downloaded it, open your terminal and change its directory from Downloads to /var/www/html/ directory. Utilize the following command for the same purpose.
root@linuxhelp:/home/user1# cd Downloads/
root@linuxhelp:/home/user1/Downloads# ll
total 1728
drwxr-xr-x  2 user1 user1    4096 Dec  8 06:10 ./
drwxr-xr-x 15 user1 user1    4096 Dec  8 06:01 ../
-rw-rw-r--  1 user1 user1 1761108 Dec  8 06:10 4images1.8.zip
root@linuxhelp:/home/user1/Downloads# mv 4images1.8.zip /var/www/html/
root@linuxhelp:/home/user1/Downloads# cd /var/www/html/
Once it is done, extract the downloaded package by invoking the following command.
root@linuxhelp:/var/www/html# unzip 4images1.8.zip
Archive:  4images1.8.zip
   creating: 4images/admin/
  inflating: 4images/admin/admin_functions.php
  inflating: 4images/admin/admin_global.php
  inflating: 4images/admin/backup.php
&hellip
&hellip .
&hellip
  inflating: 4images/update_1.5_to_1.6.php
  inflating: 4images/update_1.6.1_to_1.7.php
  inflating: 4images/update_RC-1_to_RC-2.php
After extracting the package, change its ownership by triggering the following command.
root@linuxhelp:/var/www/html# chown -R www-data: 4images/
Once it is done, use the following command to create an Apache VirtualHost for the 4images Gallery.
root@linuxhelp:/var/www/html# nano /etc/apache2/sites-available/4images.conf
Configure the newly created VirtualHost by adding the following lines to it.
< VirtualHost *:80>
 ServerAdmin admin@yourdomain.com
 DocumentRoot /var/www/4images
 ServerName linuxhelp
 ServerAlias www.yourdomain.com
 < Directory /var/www/4images/>
Options Indexes FollowSymLinks MultiViews
AllowOverride All
Order allow,deny
allow from all
 < /Directory>
 ErrorLog /var/log/apache2/yourdomain.com-error_log
 CustomLog /var/log/apache2/yourdomain.com-access_log common
< /VirtualHost>
Once the VirtualHost is configured, change the hostname in the ServerName option. Enable 4images Gallery and restart the Apache web server.
root@linuxhelp:/var/www/html# a2ensite 4images
Enabling site 4images.
To activate the new configuration, you need to run:
  service apache2 reload
root@linuxhelp:/var/www/html# service apache2 restart
Now, create a MySQL database for 4Images to store its data.
root@linuxhelp:/var/www/html# mysql -u root -p
Enter password:
Welcome to the MySQL monitor.  Commands end with   or g.
Your MySQL connection id is 2
Server version: 5.6.31-0ubuntu0.15.10.1 (Ubuntu)
Copyright (c) 2000, 2016, Oracle and/or its affiliates. All rights reserved.
Oracle is a registered trademark of Oracle Corporation and/or its
affiliates. Other names may be trademarks of their respective
owners.
Type ' help '  or ' h'  for help. Type ' c'  to clear the current input statement.
mysql>  create database 4images
Query OK, 1 row affected (0.00 sec)
mysql>  GRANT ALL PRIVILEGES on 4images.* to ' 4images_user' @' localhost'  identified by ' password'
Query OK, 0 rows affected (0.00 sec)
mysql>  FLUSH PRIVILEGES
Query OK, 0 rows affected (0.01 sec)
mysql>  exit
Bye
Open your web browser and enter your IP Address/domain name on the search bar.
http://192.168.7.232/4images
4images gallery installation page appears. Enter the MySQL Database information and Create Admin user for 4images and click on Start Installation.

The Installation is now complete.
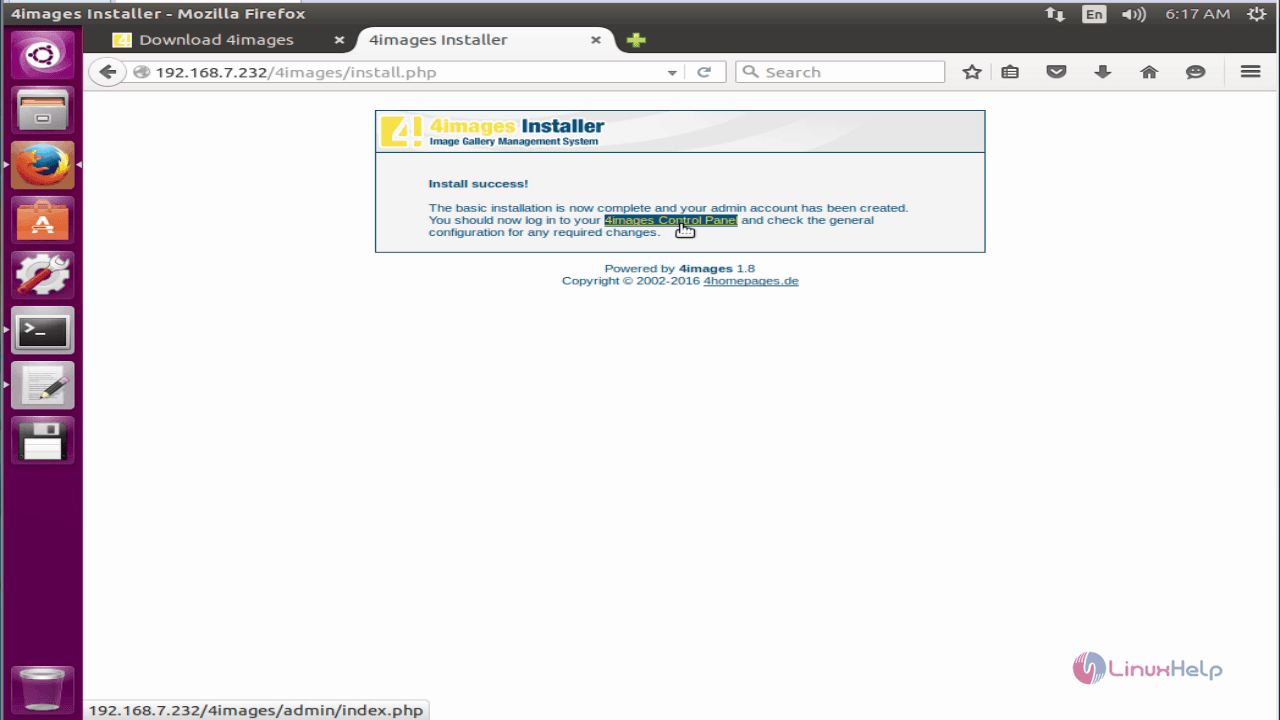
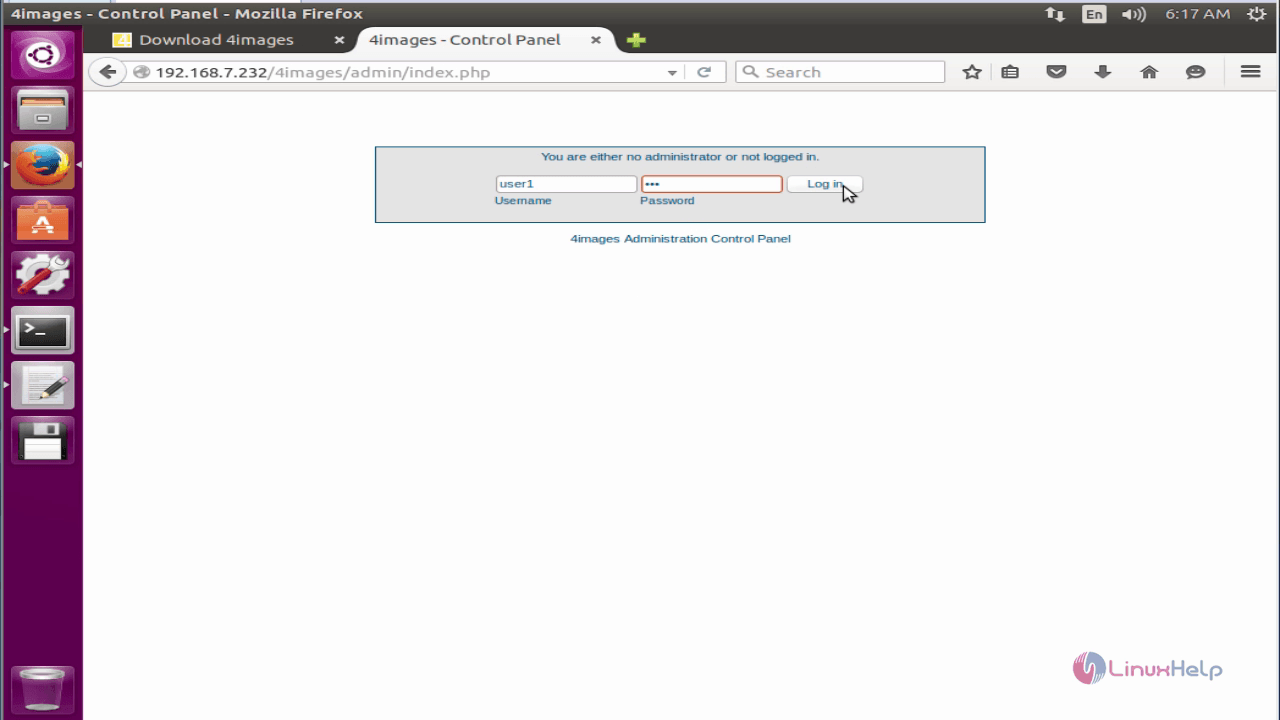
You will be taken to the 4Images Gallery Login page
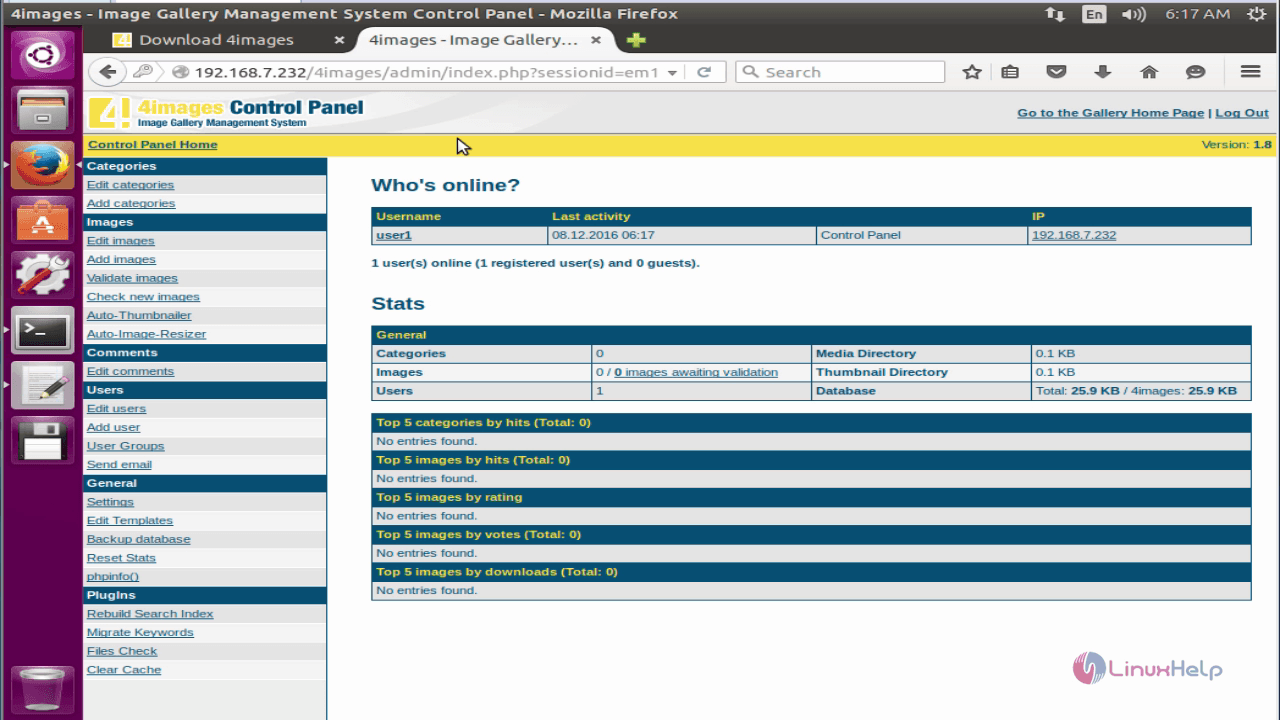
Once you login, you will see the 4Images Gallery Control Panel home.
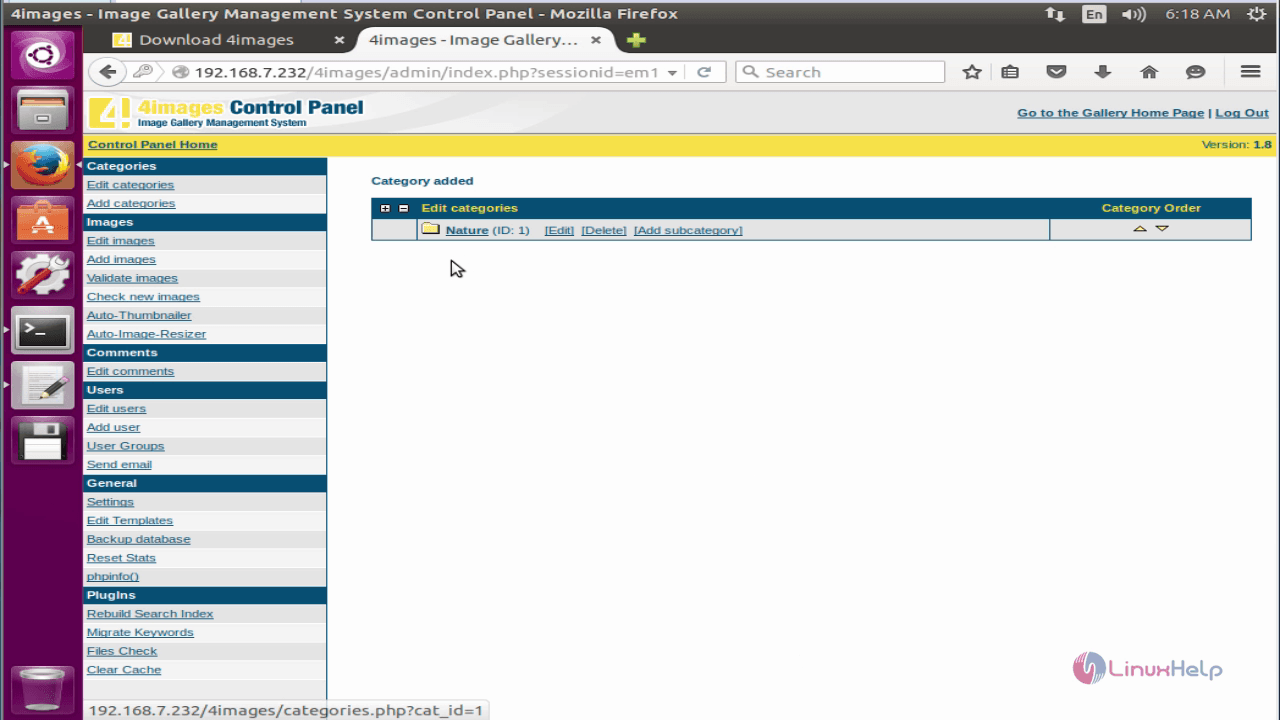
Add a category to it by clicking on the Add button at the end of the page.
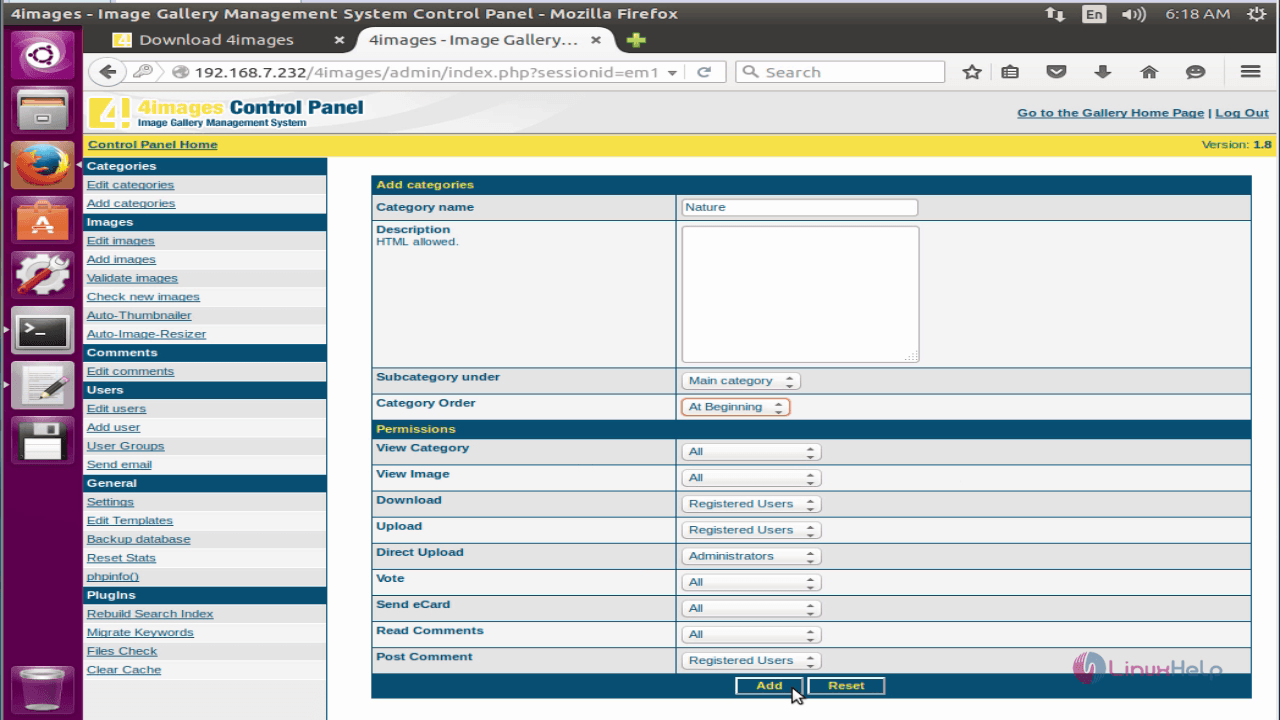
A new category has been added.
You can also add images.
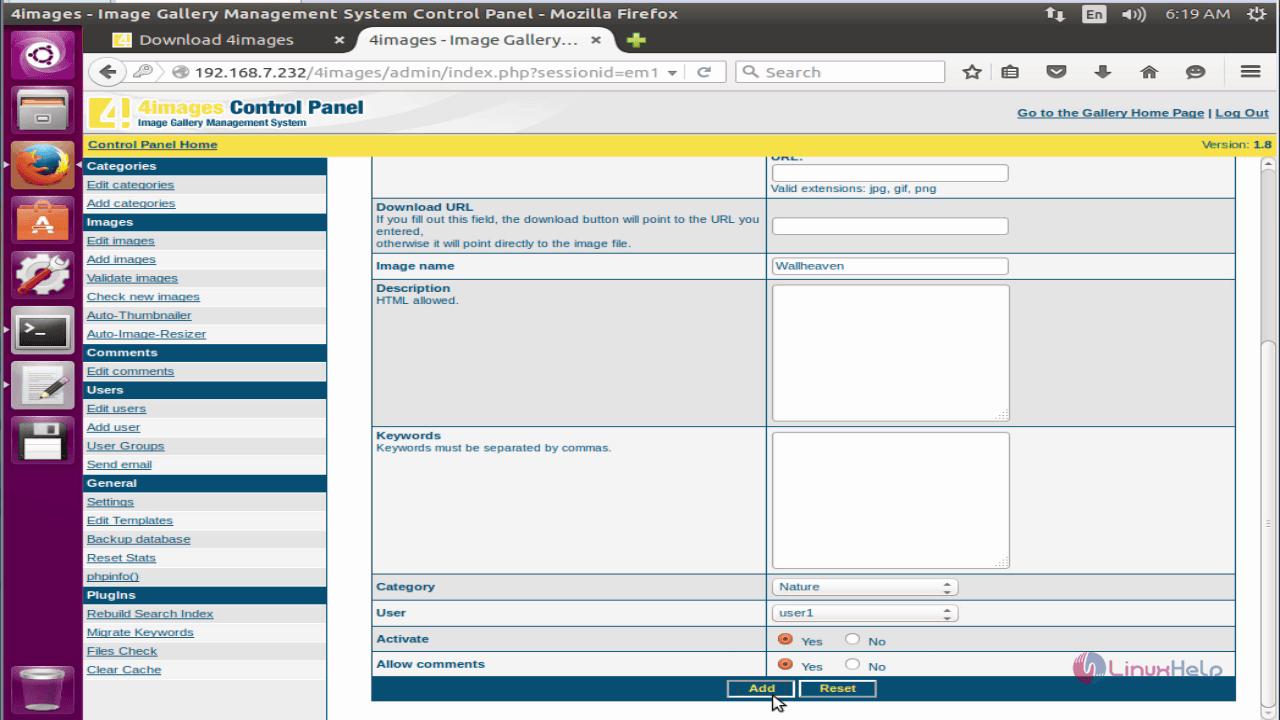
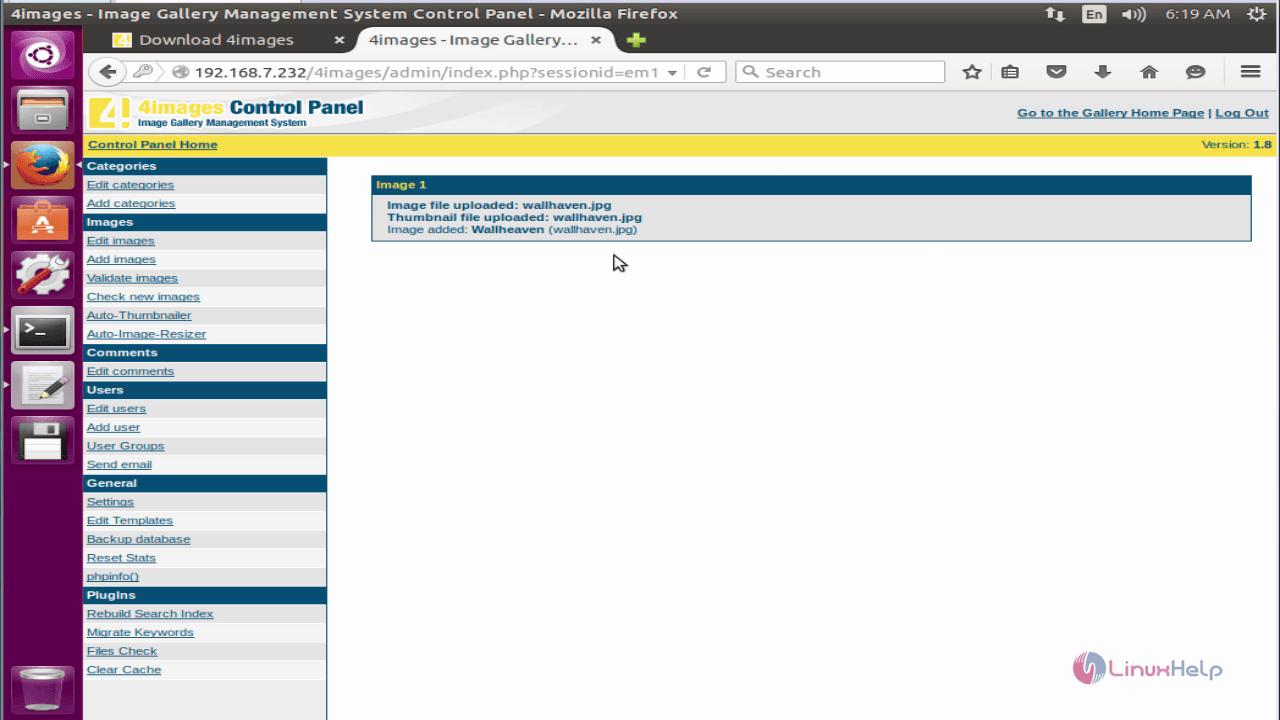
Image has been uploaded.
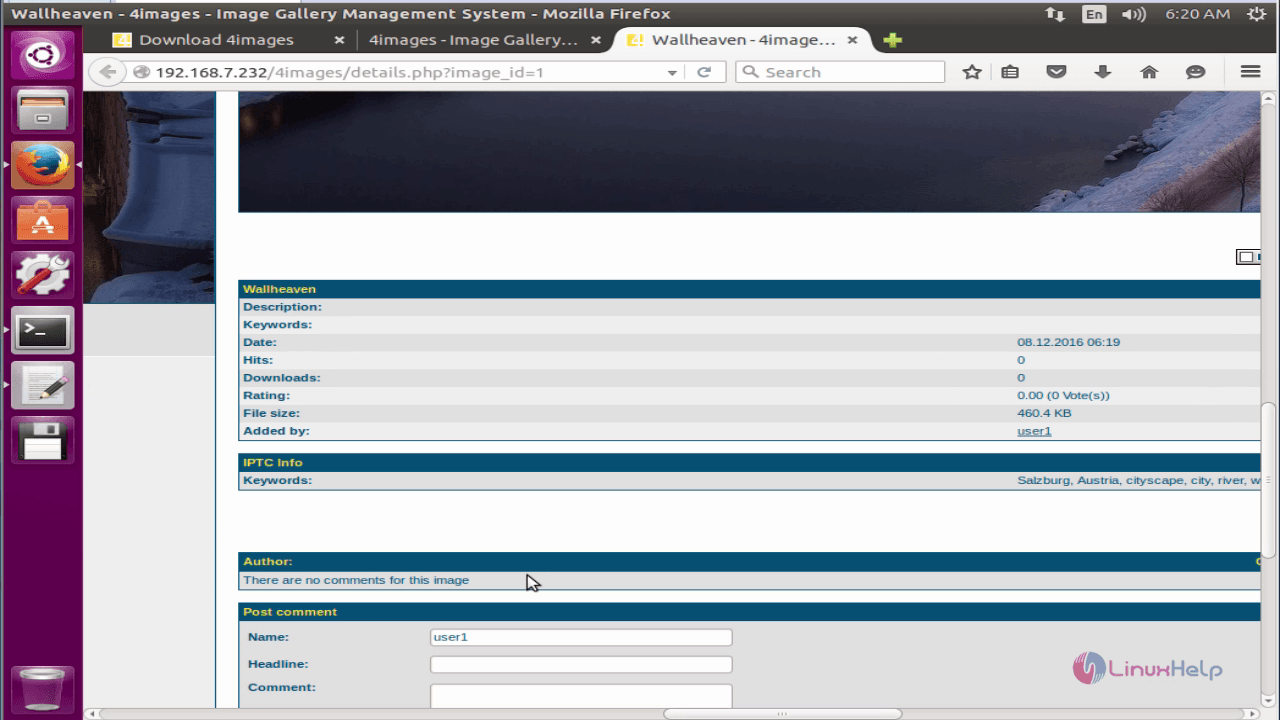
You can also edit the uploaded images.
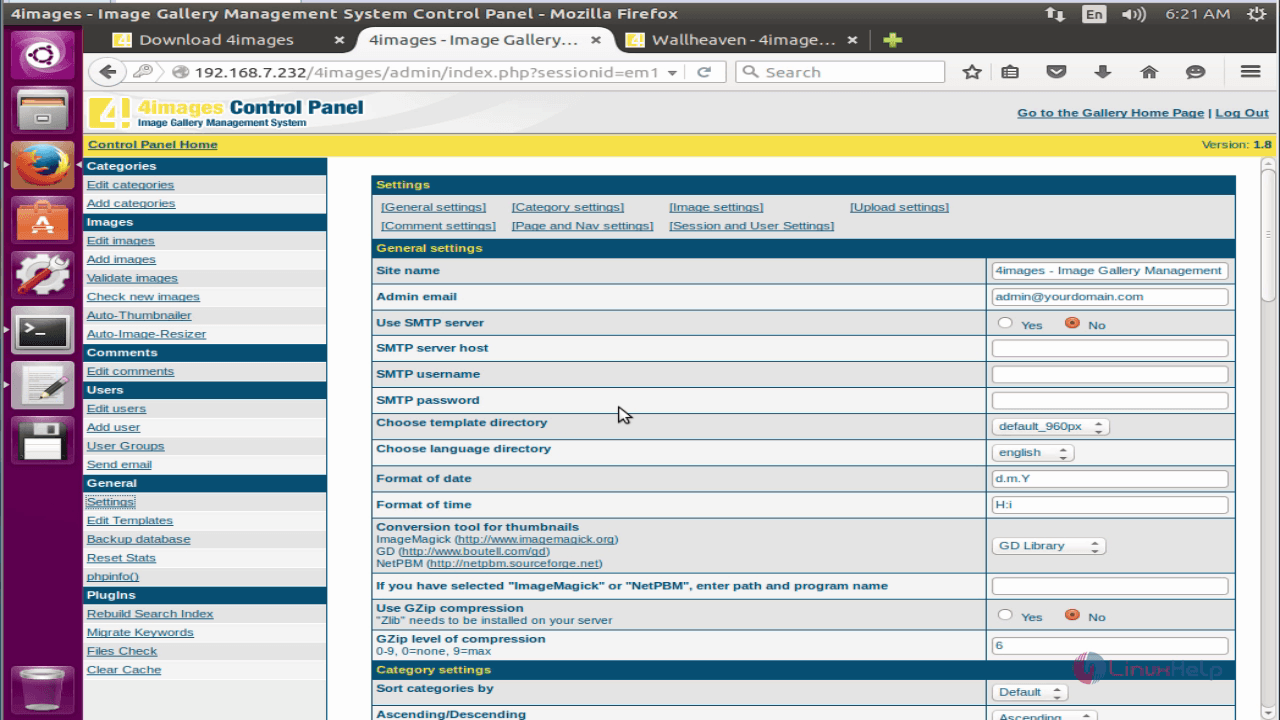
Choose the settings option in the left pane of the window to make General Settings.
Comments ( 0 )
No comments available